Campervan earthing and bonding sit at the heart of a safe installation, and safety should be at the forefront of everything we do. From correctly sized fuses and cables to correctly terminated outlets this all comes together to create something usable and safe.
When I think of safety in and around campervan electrical systems, my mind instantly diverts to earthing and bonding. These are key safety features and are fundamental to a correctly operating and safe electrical system.
Quick answer
In short
Campervan earthing and bonding is mostly about bonding. Main protective bonding conductors of at least 4.0mm² connect the chassis and any metal gas pipe to the 230V main earthing terminal (BS 7671 Regulations 411.3.1.2 and 721.411.3.1.2). Victron requires the inverter/charger chassis to be grounded. On hook-up, the site supply provides the neutral to earth link. In inverter mode, the MultiPlus-II ground relay makes that link so the RCD works. Every 12V circuit has its own negative return, so the chassis never carries 12V current.
- Chassis bond from the main earthing terminal
- A negative return for every 12V circuit
- Ground the inverter chassis, bond the gas pipe
- Ground relay makes the MEN link in inverter mode
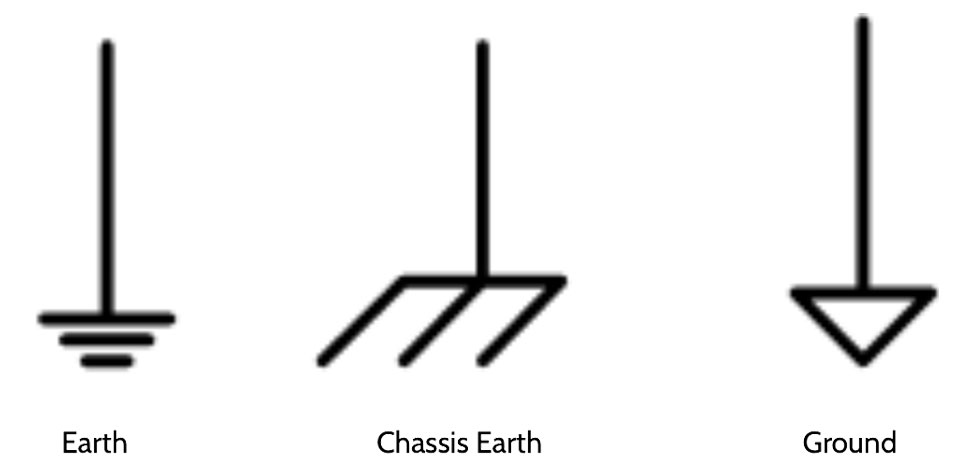
In regard to campervan electrical installations, there are 3 types of earthing worth noting, namely:
Earth is a direct connection via a copper cable to the Earth. A copper rod or copper tape driven into the ground does this. Depending on the building this could be a old water pipe or even a metal steel joist.
Chassis bond is a protective bonding connection from the installation’s main earthing terminal to the metalwork of a vehicle or boat. It could also be the electrical casing of large electrical equipment.
Ground is a common reference point in a circuit that you measure voltages from. As a result, a voltage may be above ground (positive) or below ground (negative).
What is the difference between earthing and bonding in a campervan?
Earthing and bonding are two distinct concepts. Both exist mainly to prevent electrical hazards and keep people and equipment safe. They serve different purposes but are closely related.
Earthing (Grounding):
Purpose: Earthing (grounding in the USA) mainly provides a safe path for electrical fault currents to dissipate into the earthing conductor. That prevents electric shocks, fires and equipment damage. In a campervan installation you do not need to worry about earthing in this sense. This section only gives context for the rest of this guide to campervan earthing and bonding.
How earthing works
Function: It involves connecting metal parts of electrical equipment and systems (like appliances, electrical panels, machines, etc.) to the earth or a ground electrode (a metal rod buried in the ground).
Key Components: Grounding electrodes, grounding conductors, and grounding electrodes (ground rods, plates, etc.) are essential components of an earthing system.
Safety: Earthing ensures that if there is a fault in an electrical device, the current will flow into the ground instead of passing through people or objects, reducing the risk of electrical shock or fire.
How can a van on four rubber tyres be earthed? Off hook-up, it isn’t connected to the general mass of earth at all. Instead, the inverter/charger’s ground relay links the AC output neutral to the chassis. A line to chassis fault then has a return path, so the RCD or circuit breaker disconnects the supply. That only works if every touchable metal part is bonded together.
On hook-up, the protective conductor in the hook-up lead connects your main earthing terminal to the site’s earthing, often a copper earth rod at the pitch.
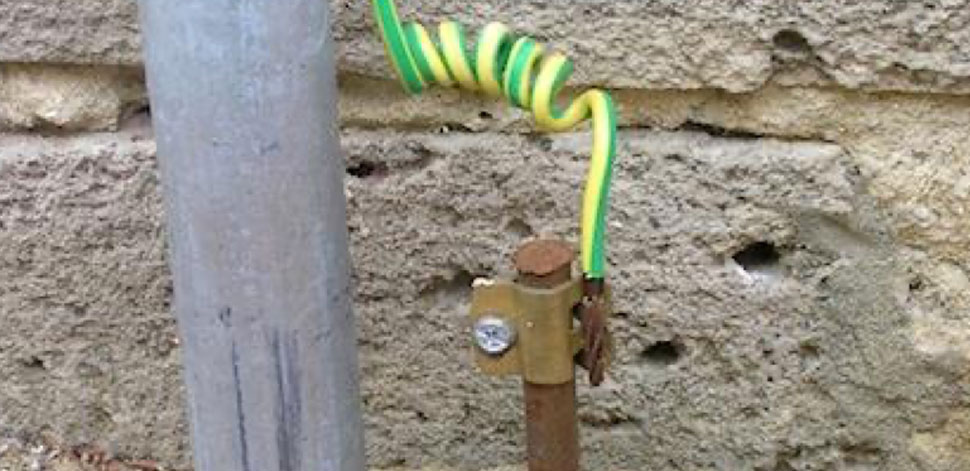
What is bonding, and why does it matter in a campervan?
Purpose: Bonding mainly establishes an electrical connection between various conductive components or structures which have the potential to become ‘live’.
Function: It involves connecting metal objects and structures together to ensure they are at the same electrical potential. This prevents differences in voltage between them, reducing the risk of electrical discharge, sparking, or static electricity buildup.
Key Components: Bonding conductors, clamps and connectors create the electrical connections between conductive materials.
Safety: Bonding is crucial in camper vans, motorhomes and boats. You need to bond every conductive part to achieve an ‘equipotential zone’.
Equipotential Zone: Equipotential zones often create safe areas in electrical systems. Especially in AC systems. For example, the surface of a conducting material like the metal bodywork of a campervan can be an equipotential surface to prevent electric shocks to users. In such cases, any point on the casing has the same electric potential, so there is no potential difference to drive current through a person touching it.
A faraday cage is a great example of a equipotential zone.
Exposed conductive parts: earthing in a campervan
BS 7671 defines an exposed conductive part as a conductive part of equipment which can be touched and which is not normally live, but which can become live under fault conditions.
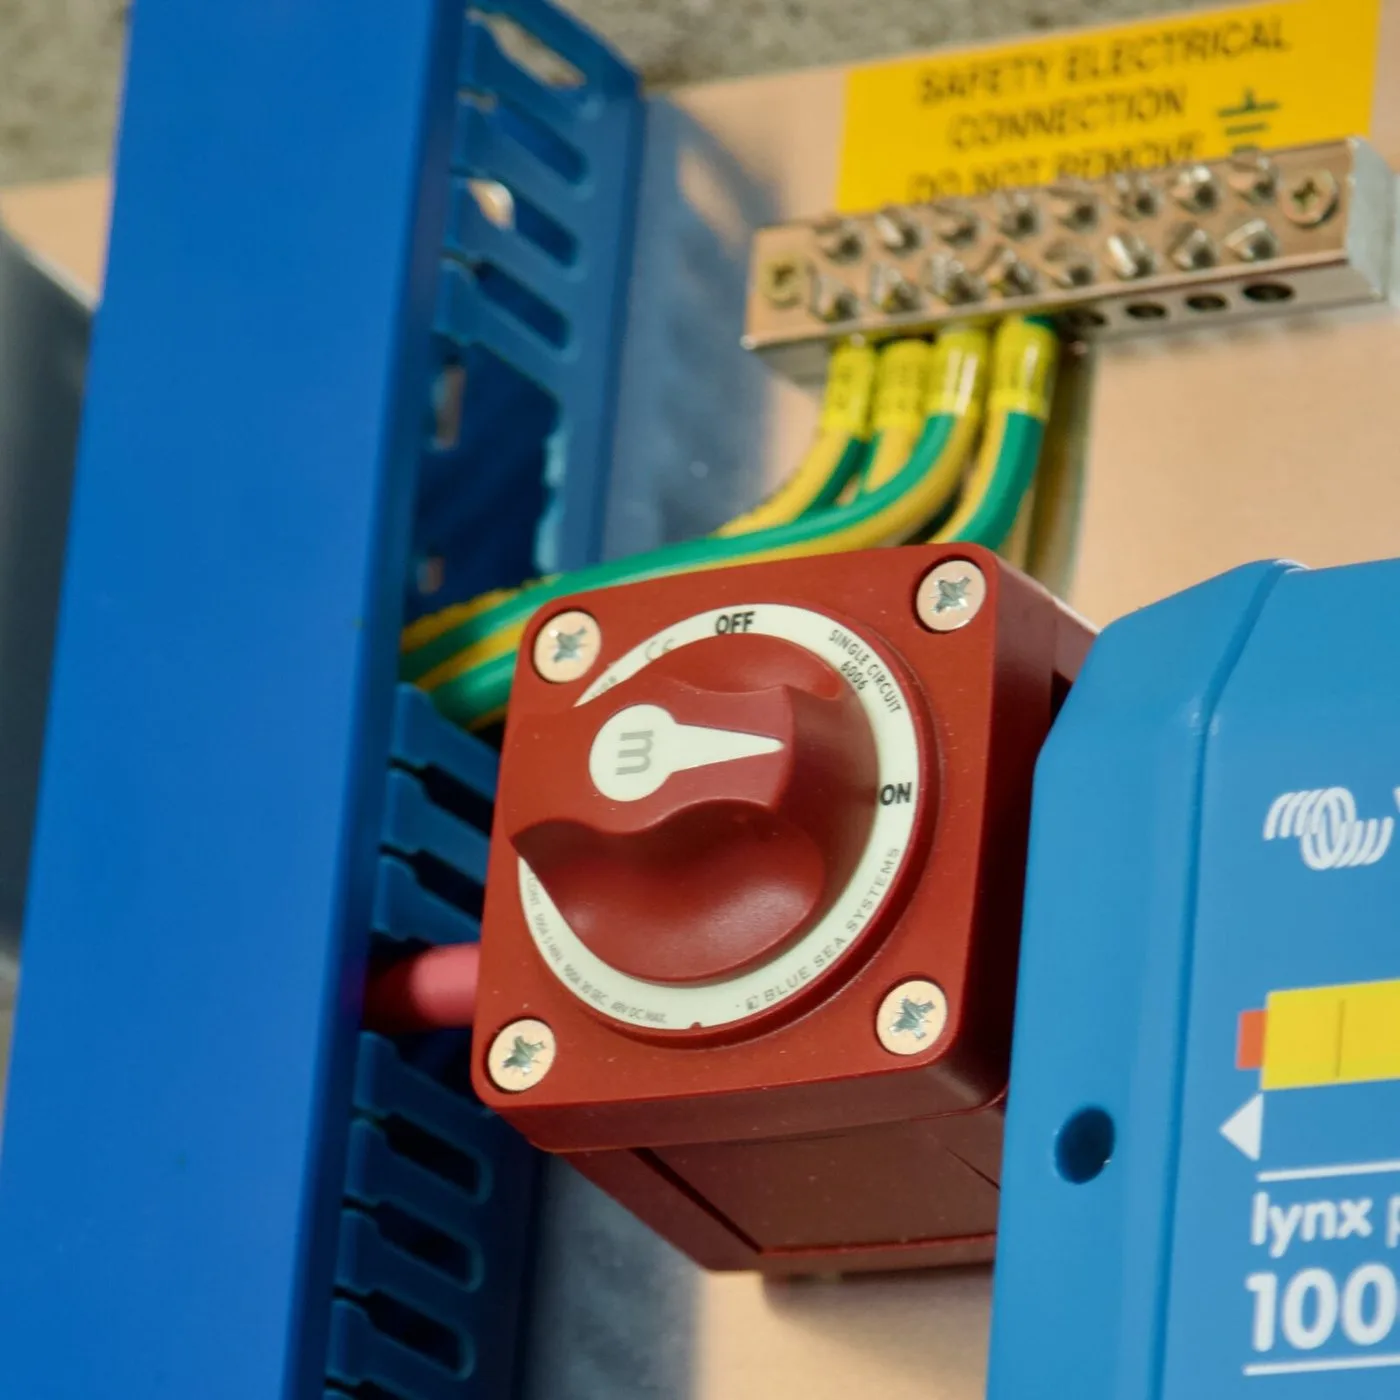
In essence, an exposed conductive part is any metallic part of an appliance or equipment accessible to touch and liable to become live if a fault occurs within that appliance or equipment. Such equipment in a campervan or motorhome includes metal consumer units, water heaters, and microwave ovens.
BS 7671 requires that all exposed conductive parts are ‘earthed.’ That is, each must connect to the installation main earthing terminal through a circuit protective conductor (the technical term for an earth wire).

Extraneous conductive parts: bonding in a campervan
BS 7671 defines an extraneous conductive part as a conductive part liable to introduce a potential, generally earth potential, and not forming part of the electrical installation. In essence an extraneous conductive part is any metallic part entering the installation from the ground.
The parts considered extraneous in a campervan or motorhome are gas installation pipes and the chassis.
BS 7671 requires that all extraneous conductive parts are ‘bonded.’ That is, each must connect to the installation main earthing terminal through an ‘equipotential bonding conductor,’ or simply a protective bonding conductor.
Regulation 411.3.1.2 considers an extraneous-conductive-part as a conductive part liable to introduce ‘a dangerous potential difference’.


Bonding the campervan chassis
The chassis bond ties the van’s metalwork to the 230V main earthing terminal. Under an earth fault, the metal you can touch stays at the same potential as the installation earth while the protective device disconnects.
What BS 7671 requires: Regulation 721.411.3.1.2 requires structural metal parts that are accessible from inside the van to be connected to the main earthing terminal through main protective bonding conductors. In practice, the chassis and metal gas pipes count as extraneous-conductive-parts, so we bond them. NCC-approved guidance sets 4.0mm² as the minimum bonding conductor size for caravans and motorhomes.
Labels and clamps: Label each bond “Safety electrical connection – do not remove”. Under the van, use a BS 951 clamp rated for corrosive or damp conditions and protect the joint against corrosion. A bond should read no more than 0.5 Ω on a continuity test.
The 12V side: BS EN 1648-2 requires every 12V circuit to have a positive supply and a negative return, with each positive protected by an overcurrent device. The chassis is never the return, and 12V operating current must never flow in the 230V protective conductors. Where the 12V system is grounded, Victron’s rule is one ground point, close to the battery, with a cable that can carry a fault current at least equal to the DC fuse rating.
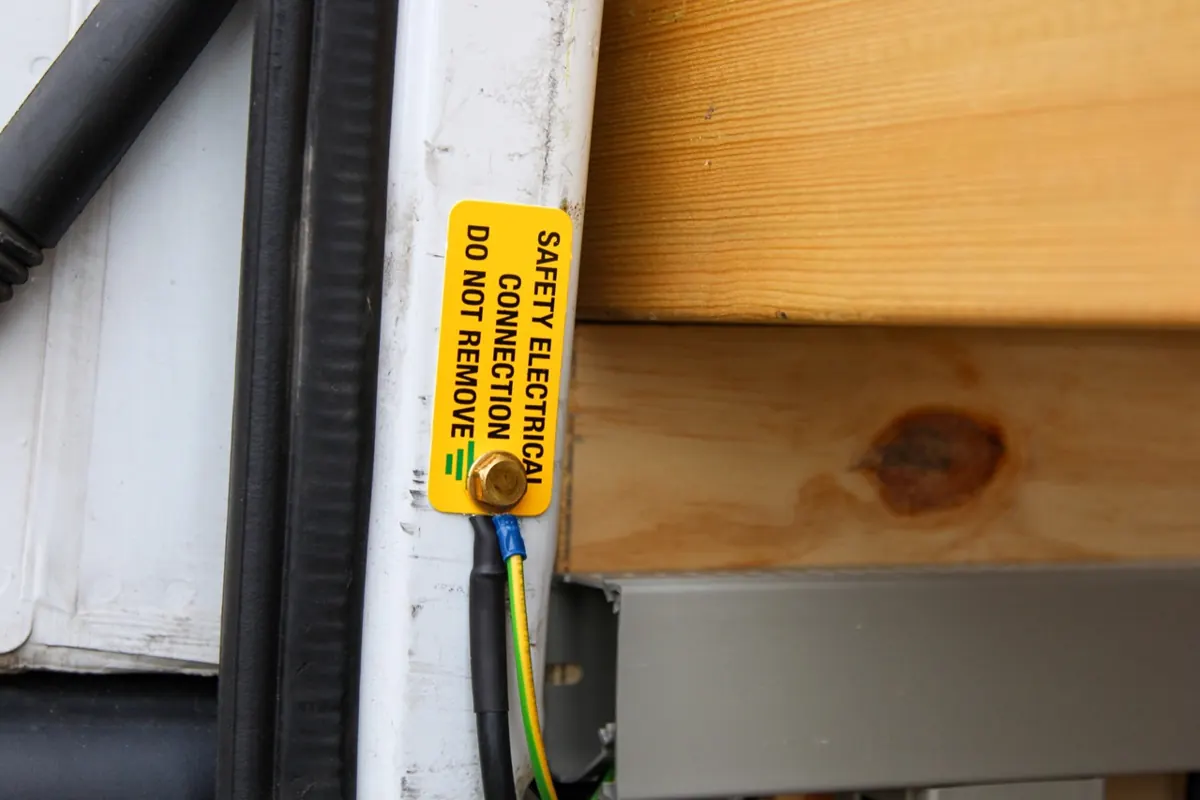
Making a proper chassis bond
To make a proper chassis bond for your campervan’s electrical system:
- The 230V main earthing terminal has its own bonding conductor to the chassis. It is separate from anything on the 12V side, so no 12V current can flow in it.
- Remember to remove the paint where you plan to make your connection, the paint will act as a insulator and may impede the connection.
- Some electrical components and devices within the campervan need their metal cases connected as shown on the system schematic. Check the manufactures instructions to confirm which devices these are.
- Use properly sized wires and connectors to give a low-resistance path for the current. On our builds, every connection is torqued to the maker’s figure and torque-pen marked.
- Victron inverters and inverter/chargers have only basic isolation between the AC circuitry and the case, so Victron requires the chassis to be grounded. A MultiPlus-II has a dedicated earth terminal on its case for this. Our wiring diagram shows the cable, its size and where it terminates.
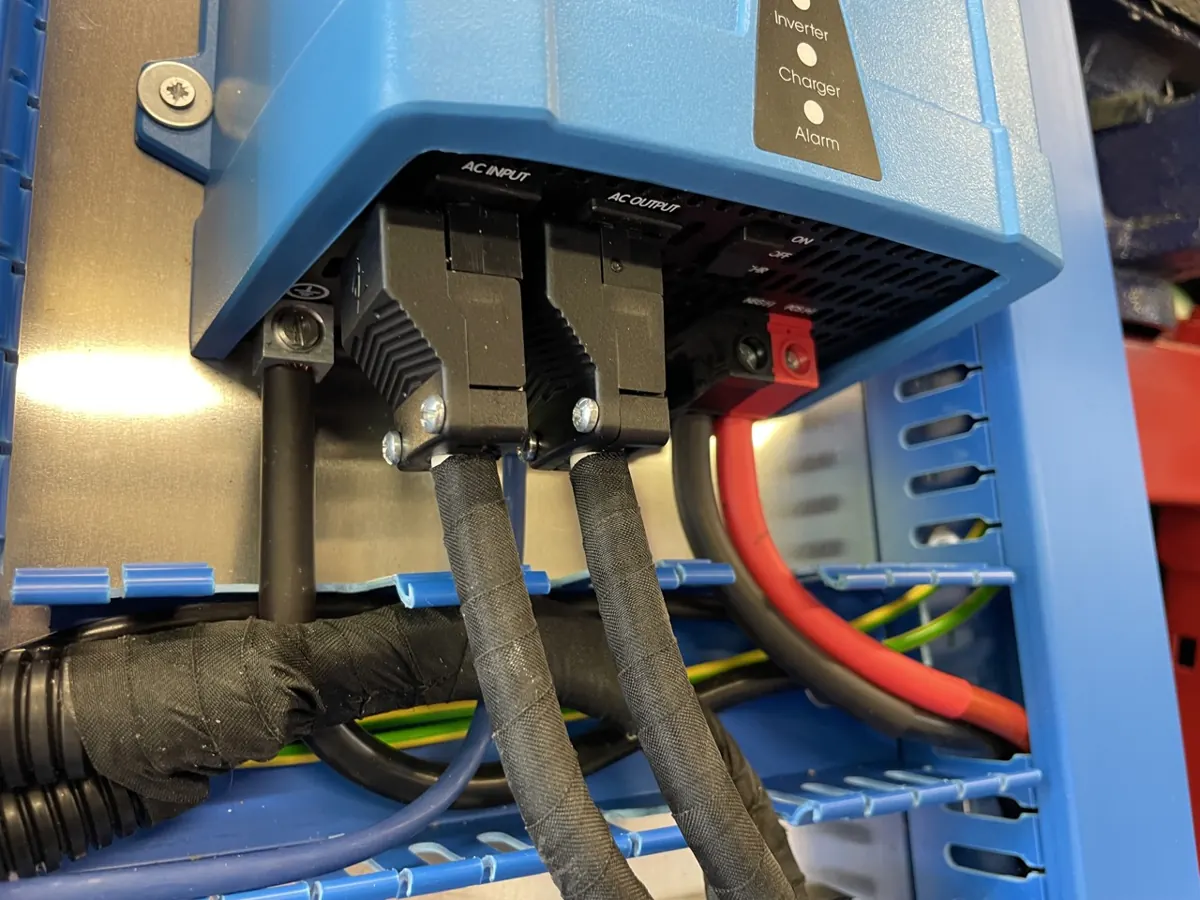

Bonding your own vehicle
Keep in mind that the specifics of chassis bonding can vary depending on the vehicle’s make and model, as well as the electrical system design of the campervan. It’s essential to follow manufacturer guidelines and, if in doubt, ask us before you drill, so your campervan’s chassis bonding is safe and effective.
Neutral to Earth Link in Campervan Electrical Systems
An AC power source that’s feeding a campervan’s electrical system needs to have a neutral-to-earth link (MEN link) so that an Residual Current Device (RCD) can operate correctly. This is the case for the grid, but also if the AC source is a generator or an inverter.
But with a combined inverter/charger such as a Victron Energy MultiPlus, the MEN link is less straightforward. The inverter/charger unit has two different modes of operation

The inverter/charger is in charger mode and/or feed-through mode
When you connect the campervan to shore power, the AC input relay inside the inverter closes and, at the same time, the earth relay opens (see diagram below).
The AC output system relies on the AC power supply to provide the neutral-to-earth link. The RCD in the AC output circuit needs this link to work.
Related guide
Not sure how an RCD works? Read our campervan RCD guide.

The Inverter/charger is in inverter mode:
When you unplug the shore power, or it trips, the AC input relay opens. When the AC input relay is open, the installation does not have a neutral-to-earth link anymore.
This is why the earth relay closes at the same time. As soon as the earth relay closes the inverter/charger has made an internal neutral-to-earth link. The RCD in the AC output circuit needs this link to work.
Campervan earthing and bonding FAQs
Do I need to bond the chassis of my van?
Yes. Regulation 721.411.3.1.2 requires structural metal parts accessible from inside the van to be bonded to the main earthing terminal, and in practice we bond the chassis with at least 4.0mm². Our personalised wiring diagrams show each bonding point and cable size.
If a fault occurs and the fault current is sent to my van chassis, could this damage the vehicles electronics?
Whilst we can’t guarantee that damage to vehicle electronics won’t take place under fault conditions, it’s worth understanding that an electrical fault is better passing to the van chassis than via a human being to earth which could result in injury or worse, death. The result of the fault being pulled to the van chassis means the protective devices should trip or blow, disconnecting the supply and making the system safe.
Do I need to bond my chassis if I have a DC only system?
Not as a return path. BS EN 1648-2 requires every 12V circuit to have its own negative return, so the chassis never carries 12V load current. Whether the 12V negative is grounded at one point depends on the design. A non-isolated DC-DC charger, for example, already shares the starter battery negative. Where it is grounded, Victron’s rule is one ground, close to the battery, sized to carry a fault current at least equal to the DC fuse rating. Our schematics show which applies to your van.
What if the body of my campervan or motorhome is fibreglass?
This is why we bond the chassis rather than the body. The chassis of your vehicle will more than likely be steel, a extraneous conductive part. Therefore, make every effort to bond that part of the vehicle.
Do I need to bond my gas pipe to my main earth terminal?
Yes, where the gas pipe is metal. BS 7671 Regulation 411.3.1.2 requires main protective bonding conductors to connect extraneous-conductive-parts, including gas installation pipes, to the main earthing terminal. Regulation 721.411.3.1.2 applies this to structural metal parts accessible from inside the van. Use at least 4.0mm², a BS 951 clamp and a “Safety electrical connection – do not remove” label.
About the reviewer: Tom Alderdice
Tom holds the 18th Edition (BS 7671) and inspection and testing qualifications, plus NCC training in caravan and motorhome electrics.
Tiny Build Electrics is an Authorised Victron Energy Installer. See Tom’s full qualifications