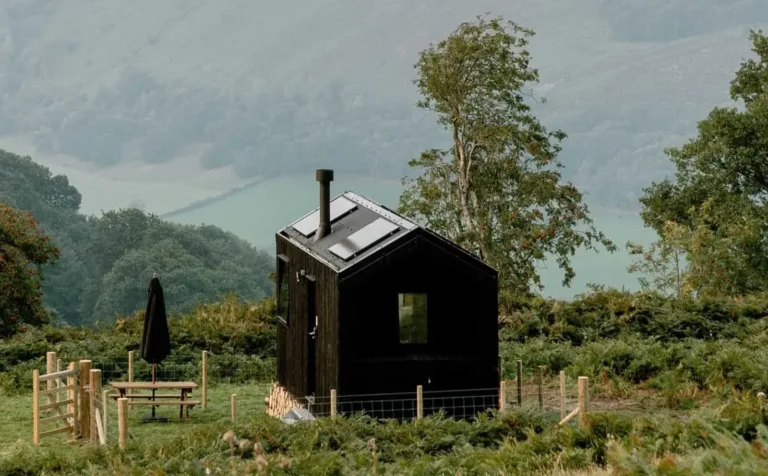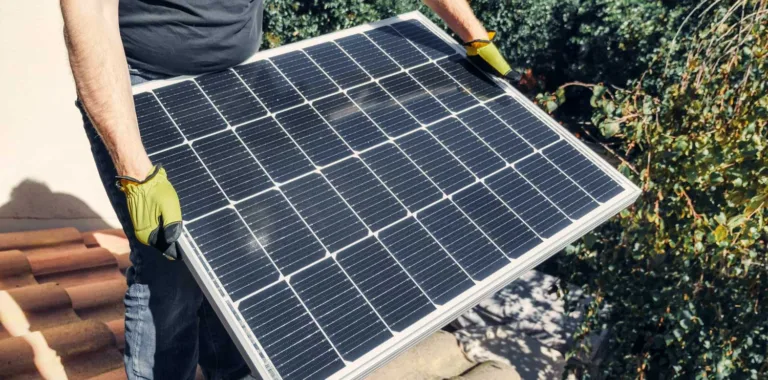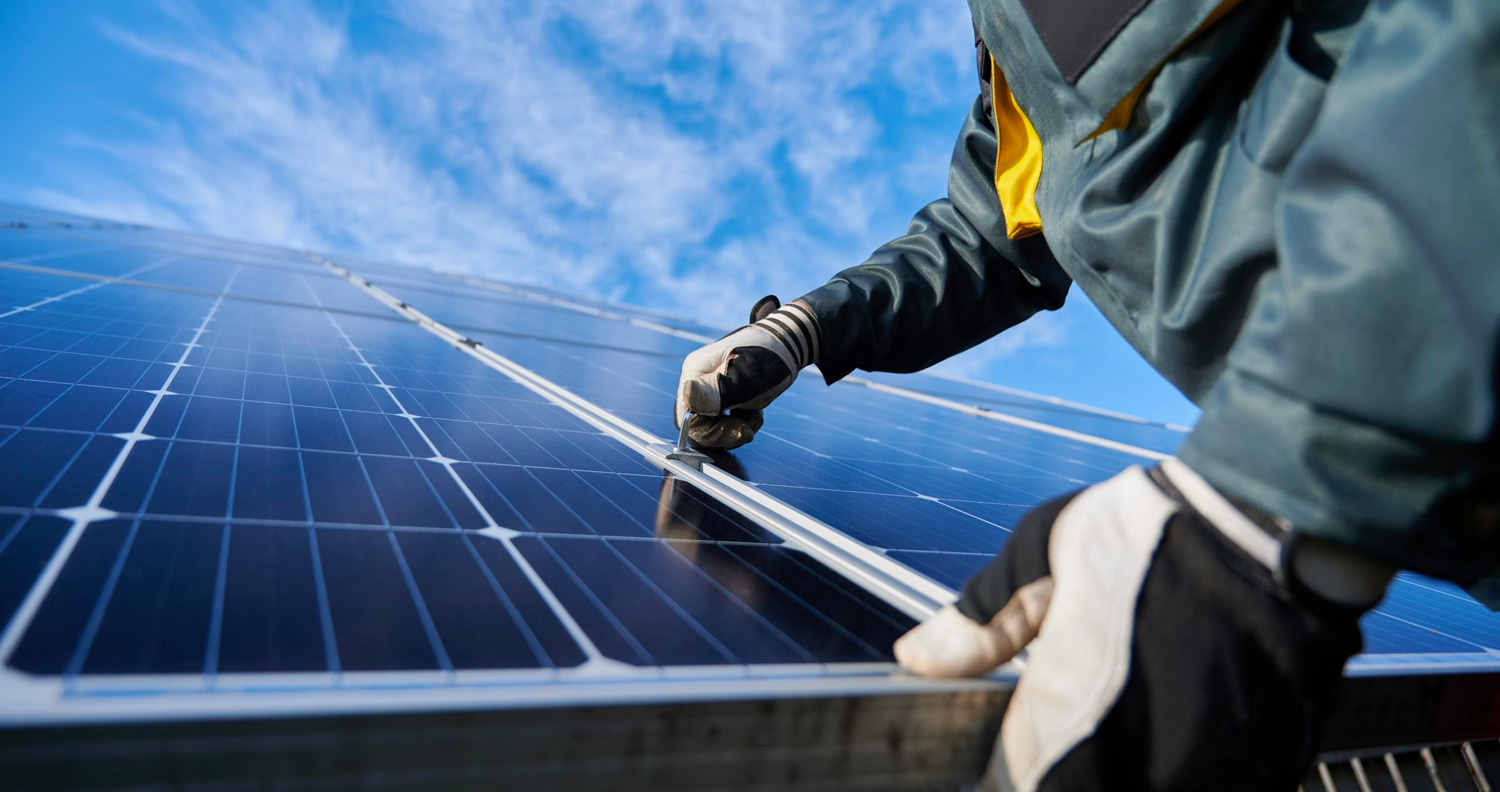
In short: solar panels for a campervan
Most solar panels for a campervan add up to 400 to 500W, so we size them at about 2W per 1Ah of battery. However, the roof sets the upper limit.
- UK winter sun is weak, so most builds pair solar with DC to DC charging from the alternator.
- The charge controller matters as much as the panels. We build around Victron MPPT controllers.
- Rigid panels are tougher; flexible panels are lighter and sit lower on the roof.
- Fit it yourself with our Self-Build package, or have it supplied and fitted at our Witherslack workshop.
Not sure? Book a free 30-minute call with Tom.
Good solar panels for a campervan give you power where there’s no hook-up, but only if they suit the van, the roof and how you travel. When a van rolls into our workshop, we don’t start with a spreadsheet. We look at the roof, what the owner runs each day and when they travel, then size the solar around that.
How do solar panels work on a campervan?
The panels on your roof turn daylight into DC power. A solar charge controller, ideally a Victron MPPT, takes that power and charges your leisure battery at the right voltage for its chemistry. Your 12 V loads then run from the battery, and an inverter such as the MultiPlus-II can supply 230 V sockets.
Solar power campervan systems have three jobs to balance: collecting energy, storing it and using it. The panels only produce power in daylight, and the output falls in cloud, shade and short winter days. Meanwhile, the battery stores what you don’t use straight away. The controller sits between the two and stops the battery being overcharged.
If you’re new to controllers, start with our guide to solar charge controllers. If you want 230 V on board, read which inverter you need before you size anything.
What size solar panel for campervan builds do you need?
There’s no fixed standard wattage, because every van and owner is different. In practice most vehicles land around 400 to 500W of solar, and that’s what we aim for on our builds. A simple rule of thumb is about 2W of solar for every 1Ah of battery. Then we check it against your roof and daily use.
On a real van, roof space usually sets the limit before the maths does. Roof bars, vents, a skylight and a fan all take room, and a panel in shade from any of them loses output. So we look at three things together: daily use, battery capacity and usable roof. Battery choice changes the picture too, so read our guide to choosing a leisure battery.
Solar panels for motorhomes and vans
The same sizing works for solar panels for motorhomes and for van solar panels on a panel van or small camper. A motorhome usually has more roof, so it can carry the larger arrays in the table below, but it often has a bigger battery and more 230 V use to match. A compact van has the opposite problem: less roof, so the panels and the alternator have to work harder together.
Do you need solar on your van?
Before sizing anything, check whether solar suits how you use the van:
- Power needs: what you run every day, such as lights, a fridge, fans and chargers.
- Time off hook-up: solar earns its place when you stay away from campsites.
- Battery care: solar keeps the battery topped up while the van is parked.
- Roof space and weight: panels need clear roof and add weight to the vehicle.
How many watts solar panel for campervan use?
There’s no single right number, but most vehicles land around 400 to 500W of solar, which is what we aim for. As a rule of thumb, allow about 2W of solar for every 1Ah of battery. Your daily use, your roof space and when you travel then decide whether to go higher or lower.
Sizing guide · 12.8 V LiFePO4
Campervan solar sizing table
Starting points we use when we design a system. Your roof, your daily use and when you travel decide the final spec.
| Battery | Suggested solar | Victron MPPT Victron EnergySmartSolar MPPT 100/30 & 100/50 manual: technical specificationsvictronenergy.com ↗ All sourcesVictron EnergySmartSolar MPPT 150/35 & 150/45 manual: technical specificationsvictronenergy.com ↗ All sources | Per day (Dec / Jun) EU Joint Research CentrePVGIS: Photovoltaic Geographical Information Systemre.jrc.ec.europa.eu ↗ All sources | Who it suits |
|---|---|---|---|---|
| 100Ah1.28 kWh | 200W2 × 100W in series | SmartSolar MPPT 100/2020 A · 100 V max PV | 0.1 / 0.8 kWhabout 5Ah / 65Ah | Weekends and short trips: lights, phones, a small 12 V compressor fridge. |
| 200Ah2.56 kWhOur usual aim | 400W2 × 200W in series | SmartSolar MPPT 150/3535 A · 150 V max PV | 0.2 / 1.7 kWhabout 10Ah / 130Ah | Most campervans: fridge, lights, diesel heater, laptop and phones, with a small inverter now and then. |
| 300Ah3.84 kWh | 500 to 600W3 × 200W in series, roof allowing | SmartSolar MPPT 100/5050 A · 100 V max PV | 0.2 / 2.5 kWhabout 20Ah / 195Ah | Full-time vanlife and remote working, with regular 230 V use through an inverter. |
| 400Ah5.12 kWh | 600 to 800Wroof space is usually the limit | 100/50 up to 600W, 150/70 at 800W50 A or 70 A · 2 × 2 series-parallel at 800W | 0.3 / 3.3 kWhat 800W: about 25Ah / 260Ah | Larger vans and motorhomes: induction hob or kettle now and then, coffee machine, all-season touring. |
| 628Ah8.04 kWh | 800W, cappedthe 2W per 1Ah rule says 1,250W, more than a roof takes | SmartSolar MPPT 150/70or two 100/50s on split arrays | 0.3 / 3.3 kWhabout 25Ah / 260Ah | Large motorhomes and all-electric builds. Solar can’t refill this alone, so DC to DC charging and hook-up do the heavy lifting. |
How we worked this out
- Battery energy. Capacity × 12.8 V nominal for LiFePO4, so 200Ah is about 2.56 kWh.
- Solar. Our rule of thumb is 2W of solar per 1Ah of battery. We then cap it at what a real roof takes: around 400 to 500W on most vans and up to about 800W on a large motorhome.
Sizing the controller current
- Controller current. Solar watts ÷ 12 V, so 400W needs 33 A and the 35 A SmartSolar MPPT 150/35 covers it. Dividing by 12 V rather than the charge voltage gives a little headroom. Victron’s own figures rate each controller’s nominal 12 V PV power (for example 440W for the 100/30) and say the controller limits input power if more PV is connected.Victron EnergySmartSolar MPPT 100/30 & 100/50 manual: technical specificationsvictronenergy.com ↗ All sourcesVictron EnergySmartSolar MPPT 150/35 & 150/45 manual: technical specificationsvictronenergy.com ↗ All sourcesVictron EnergySmartSolar MPPT 150/60 up to 250/70 manual: technical specificationsvictronenergy.com ↗ All sources
- Controller voltage. The panels’ open-circuit voltage at the coldest temperature must stay under the controller’s maximum PV voltage. We assume −15°C and a typical −0.3% per °C, so Voc rises about 12% above its 25°C rating. Two 200W panels in series (about 24.3 V Voc each) reach about 54 V, inside 100 V and 150 V. Three in series reach about 82 V, inside 100 V. Victron also needs the PV voltage 5 V above the battery to start charging. The same logic is behind Victron’s MPPT calculator; always check your own panel’s datasheet.Victron EnergySmartSolar MPPT manual: operation (PV must be 5 V above the battery to start)victronenergy.com ↗ All sourcesVictron EnergyMPPT calculatorvictronenergy.com ↗ All sources
Sizing the daily energy and cables
- Daily solar. Solar watts × UK yield for a flat-mounted roof panel from PVGIS (EU Joint Research Centre, 14% system losses): about 0.3 kWh per kW of panels a day in December in Cumbria (0.5 in Devon) and 4.0 to 4.3 in June. The table shows the midpoint, rounded. Real days vary with shade, dirt and cloud.EU Joint Research CentrePVGIS: Photovoltaic Geographical Information Systemre.jrc.ec.europa.eu ↗ All sources
- Cables and protection. Victron’s Wiring Unlimited advises a voltage drop no bigger than 2.5% and a fuse between the PV array and the solar charger. The MPPT manual sets the battery fuse (for example 55 to 70 A on a 100/50). BS 7671 covers solar PV supply systems in Section 712 and the 230 V installation in caravans and motorhomes in Section 721.Victron EnergyWiring Unlimitedvictronenergy.com ↗ All sourcesVictron EnergySmartSolar MPPT manual: installation (PV array limits and battery fuse ratings)victronenergy.com ↗ All sourcesIETBS 7671 Wiring Regulations: Section 712 (solar PV) and Section 721 (caravans and motor caravans)electrical.theiet.org ↗ All sources
Worked example: a 200Ah van
An example, not a fixed spec: a van with a 200Ah Fogstar lithium leisure battery works out at about 400W of solar using the 2W per 1Ah rule. A 250Ah battery works out at about 500W. If the roof only takes 300W, we’d lean on DC to DC charging from the alternator to make up the gap, especially in UK winter when solar output drops.EU Joint Research CentrePVGIS: Photovoltaic Geographical Information Systemre.jrc.ec.europa.eu ↗ All sources
Is 200w solar panel enough for campervan use?
It can be for light use in summer, such as lights, phone charging and a compressor fridge, but it rarely covers everything in a UK winter. Whether it’s enough depends on your daily watt hours and your battery capacity. If you rely on an inverter or cook on electric, plan for more solar or another charging source.
Is 100w solar panel enough for campervan use?
For most builds, 100 W is a top-up rather than a main charging source. It can keep a battery healthy while the van is parked and cover small loads in summer. Using the 2W per 1Ah rule, 100 W only suits a battery of around 50Ah. If you run a fridge full time, work remotely or use 230 V appliances, you’ll want more solar alongside alternator charging.
Rigid or flexible camper van solar panels
Rigid panels sit in an aluminium frame on brackets or roof bars. They’re tougher, usually more efficient and have an air gap underneath that helps them run cooler. Flexible panels are lighter, sit flat and suit curved or low-height roofs, but they’re easier to damage and run hotter when bonded straight to the roof.
Tougher
Rigid
Glass-fronted in an aluminium frame, so it is tougher and longer-lived. On the other hand, it is heavier and sits higher on the roof.
Lighter
Flexible
Lighter and sits lower on the roof. However, it is less robust over the years.
Most solar panels for campervan roofs come in both types, so on most vans we look at the roof first. If there’s room for rigid panels on rails, that’s usually our starting point. If height or weight is the issue, a flexible camper van solar panel can be the right call.
Monocrystalline or polycrystalline?
Monocrystalline panels are cut from a single silicon crystal and turn roughly 15 to 20% of the light that hits them into power. Polycrystalline panels, with their bluer, speckled look, manage nearer 13 to 16%. On a van roof, where space runs out first, monocrystalline gives you more watts for the same area, so it is usually the better choice.
Choosing a campervan solar panel charge controller
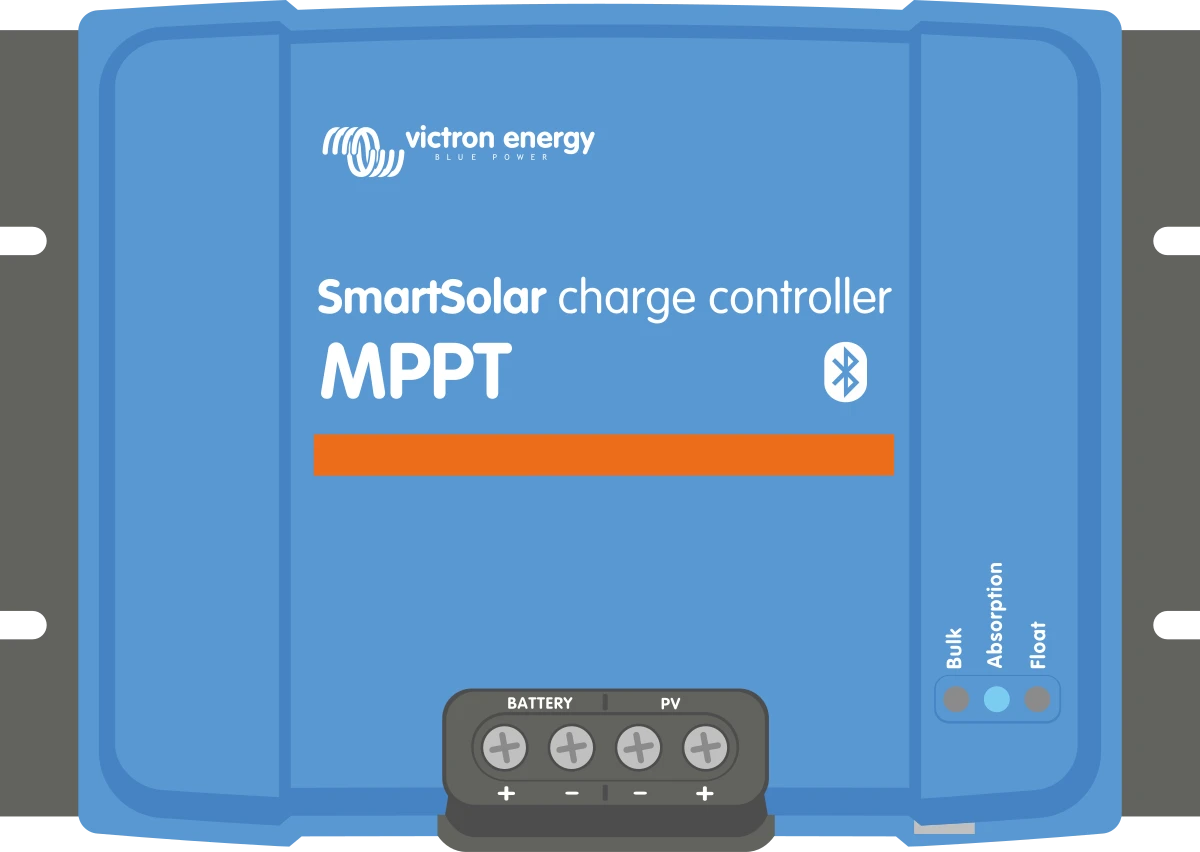
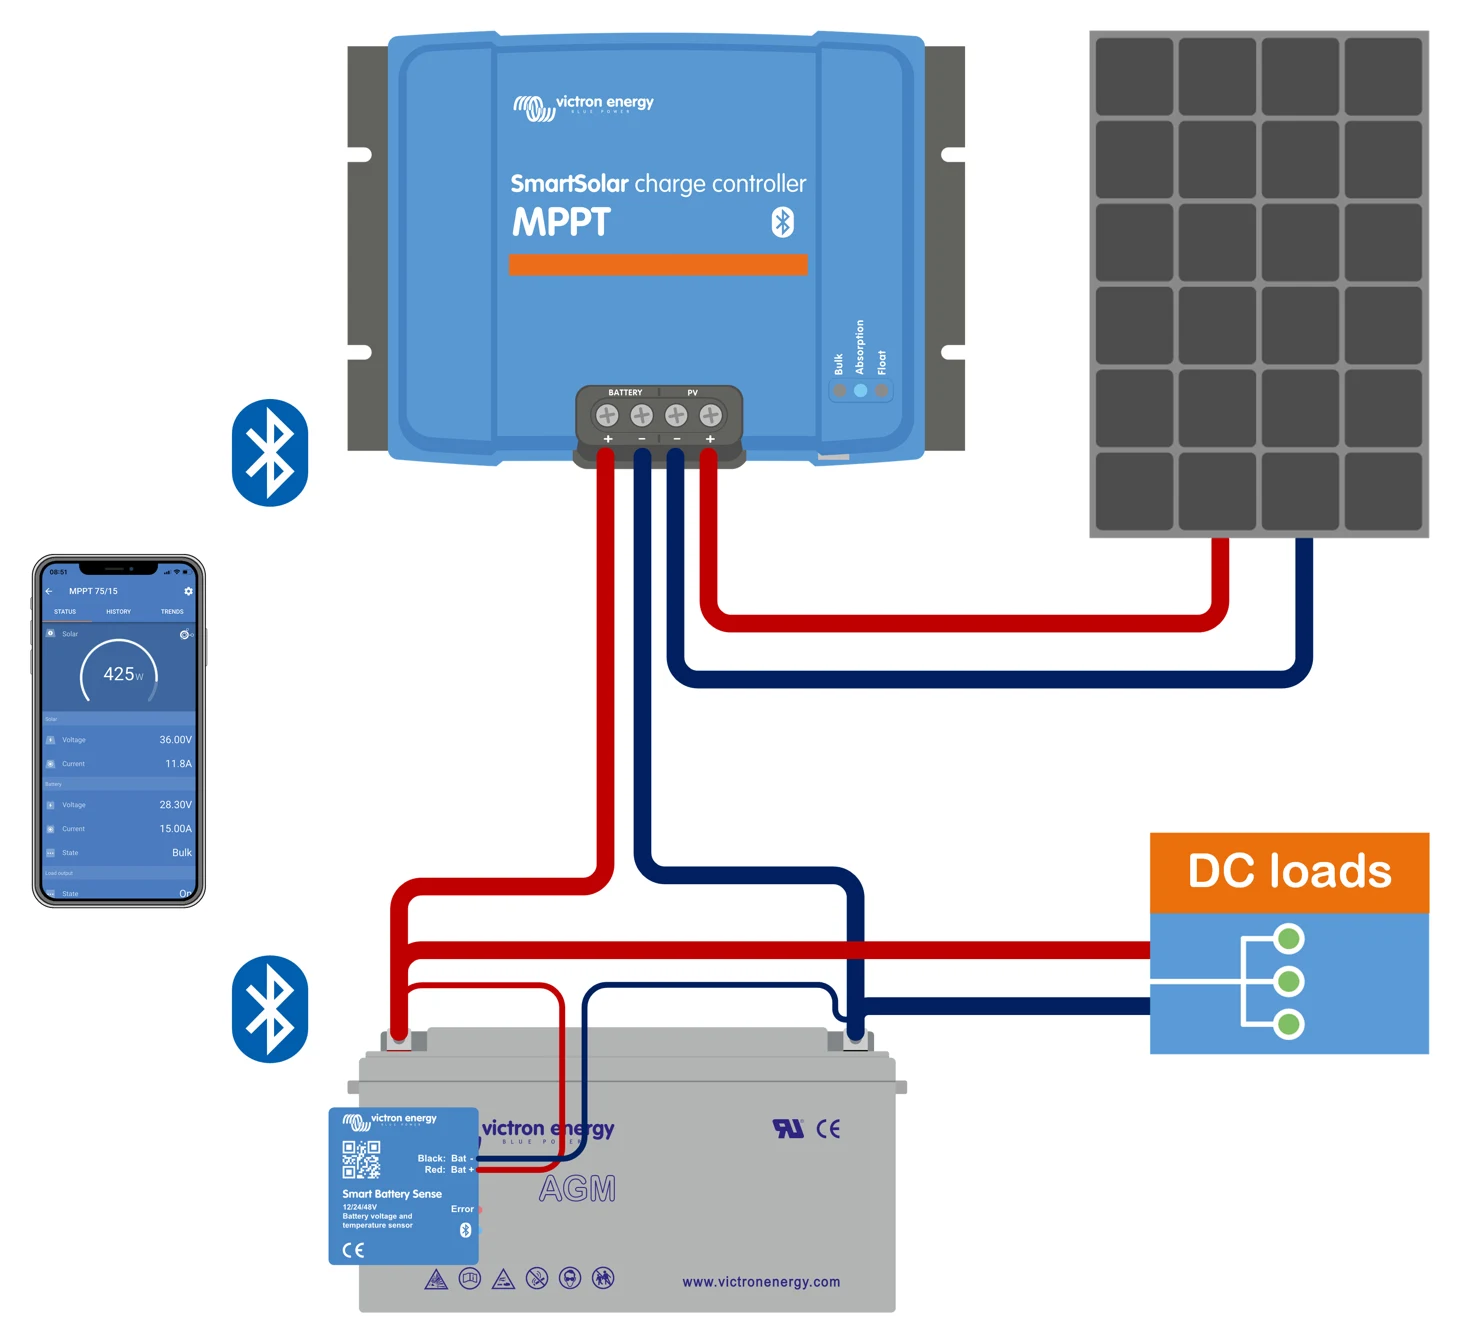
The controller decides how much of your panels’ output reaches the battery. An MPPT (maximum power point tracking) controller adjusts to draw the most power the panels can give as light and temperature change. Victron’s SmartSolar MPPT range also lets you watch solar yield in the VictronConnect app over Bluetooth.
Choosing the right one means matching it to your panel voltage, panel current and battery voltage, and setting the charge profile for your battery chemistry. Victron’s manuals set the limits for each model, and the controller won’t start charging until the panel voltage is high enough above the battery voltage.Victron EnergySmartSolar MPPT 100/30 & 100/50 manual: technical specificationsvictronenergy.com ↗ All sourcesVictron EnergySmartSolar MPPT manual: operation (PV must be 5 V above the battery to start)victronenergy.com ↗ All sources For the detail, read Victron MPPT controllers explained.
Series or parallel wiring
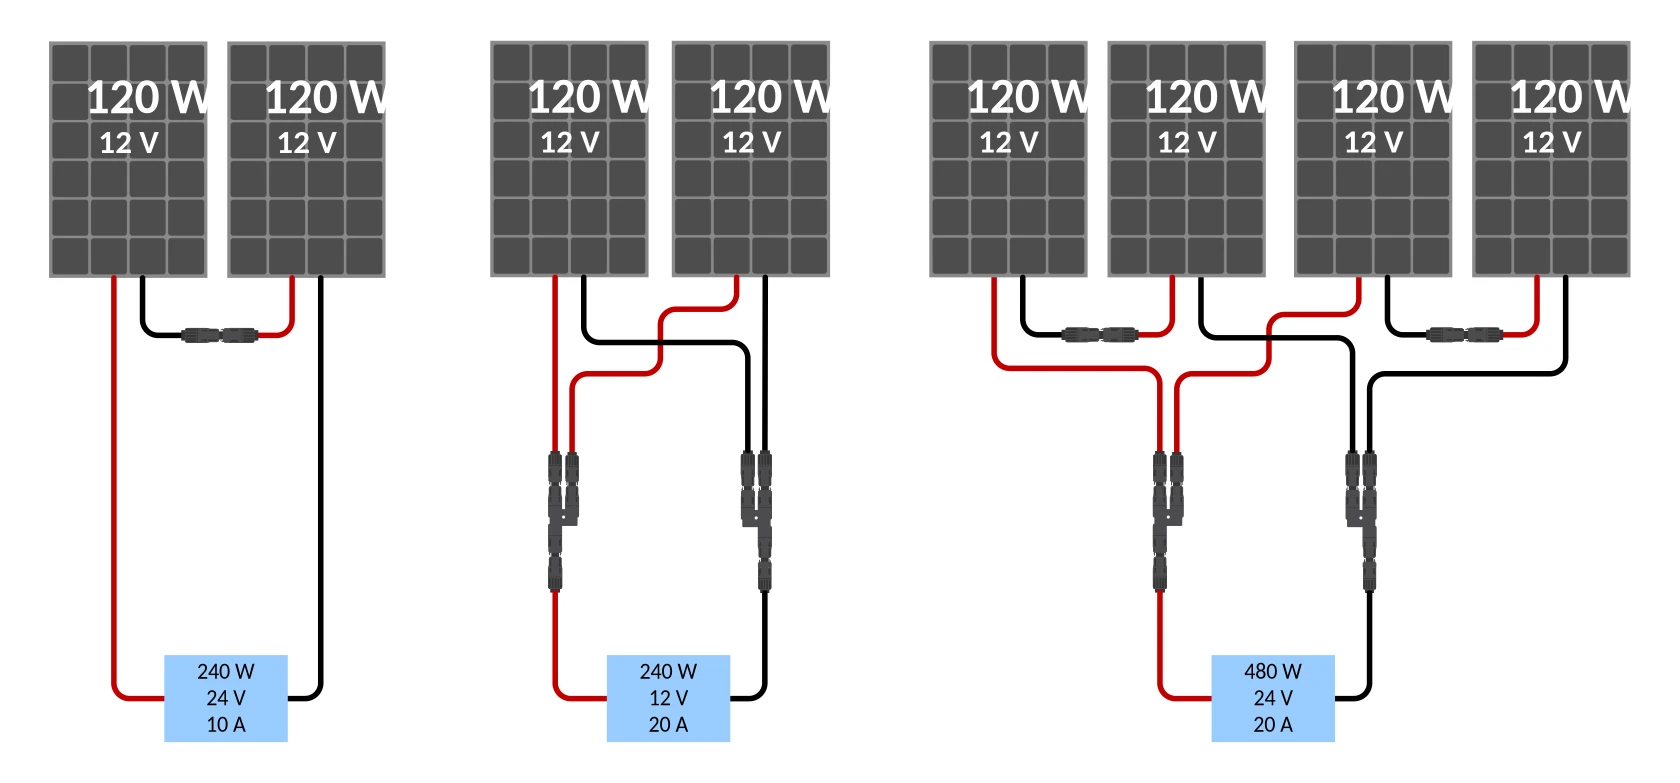
Panels can be wired in series, which adds their voltages together, or in parallel, which adds their currents together. Series gives a higher voltage, which lets an MPPT start charging earlier in the day and keeps current lower on the cable run to the controller. Parallel copes better with partial shade, because one shaded panel doesn’t drag the others down as much. Whichever you choose, the total panel voltage must stay inside the MPPT’s maximum PV voltage, including on cold days.Victron EnergySmartSolar MPPT 100/30 & 100/50 manual: technical specificationsvictronenergy.com ↗ All sourcesVictron EnergyMPPT calculatorvictronenergy.com ↗ All sources
How to install solar panel on campervan roofs safely
A solar install covers the roof mounting, a weatherproof cable entry, a DC isolator, protection, a solar charge controller and the connection to the battery system. The wiring has to be sized and protected correctly, and the whole system should be tested. You can fit it yourself through our Self-Build route, or we fit it at our Cumbria workshop.
Before anything is fixed down, we:
- 01
Pick a part of the roof with good sun, a strong structure and nothing in the way, such as vents, racks or a fan.
- 02
Check the panel layout against the sizing above.
- 03
Clean and prepare the roof for the mounting method.
- 04
Choose bolt-on brackets, rails or bonded mounts to suit the roof.
- 05
Route and protect every cable, with a weatherproof entry into the van.
The order matters. Panels, cable entry and isolation go in first, then protection and the controller, then the battery connection. Read do you need a DC isolator for solar before you drill the roof.
Connect the solar controller in the right order
On the controller itself, fit the battery first and the panels second. This is the order in Victron’s SmartSolar manual.Victron EnergySmartSolar MPPT 100/30 & 100/50 manual: installation (connection order)victronenergy.com ↗ All sources
- 01
Connect the battery, through its fuse.
- 02
Wait about 10 seconds while the controller recognises the system voltage.
- 03
Check the system voltage in VictronConnect.
- 04
Connect the PV last, with the polarity checked.
Panels first only works if you have already set the system voltage by hand. So keep the panels covered, or the PV isolator off, until the battery is on.
Check solar panel polarity before you connect
It is easy to swap positive and negative when both cables pass through the roof looking the same. Victron says the controller shows no error if that happens. Instead, the charge current stays at zero, the controller runs hot and the PV voltage reads zero or close to it.Victron EnergySmartSolar MPPT 100/30 & 100/50 manual: troubleshooting (reverse PV polarity)victronenergy.com ↗ All sources Therefore label both cables as they enter the van, and check them with a meter before the final connection. Some arrays reach 50V or more, which Victron treats as dangerous. If yours does, leave live PV measuring to a qualified electrician.
Where the system connects to the vehicle, it needs a proper chassis bond. Our guide to chassis bond and earthing explains how. BS 7671:2018+A4:2026 covers caravans and motorhomes in Section 721 and solar PV supply systems in Section 712, and Victron’s Wiring Unlimited explains why cable sizing and protection matter on DC systems.IETBS 7671 Wiring Regulations: Section 712 (solar PV) and Section 721 (caravans and motor caravans)electrical.theiet.org ↗ All sourcesVictron EnergyWiring Unlimitedvictronenergy.com ↗ All sources We test every system before it leaves the workshop.
What are the best solar panels for a campervan?
The best panel is the one that fits your roof, gives the output you need and suits how you mount it. Rigid panels are tougher and usually more efficient; flexible panels are lighter and lower profile. The charge controller matters as much as the panel, which is why we build around Victron MPPT controllers on every solar job.
We don’t push a panel brand. When we choose a solar panel for campervan work, we pick panels to suit the roof and the job, then pair them with a Victron MPPT sized to them.
Fit it yourself or have it fitted
Fit it yourself (Self-Build). If you want to do the work, our Self-Build package gives you a custom kit Tom designs for your van after a consultation, with support while you fit it. Book a Self-Build call.
Have it fitted (workshop install). We supply and fit complete systems at our workshop in Witherslack, Cumbria. We’re an Authorised Victron Energy Installer. We fit the kit we supply, so we don’t offer labour-only work or fit customer-supplied parts. See our workshop solar installation service.
Either way, it starts with a free 30-minute call with Tom.
Campervan solar panels FAQ
What size solar panel for campervan?
There’s no fixed standard wattage. Most vehicles land around 400 to 500W of solar, which is what we aim for on our builds. A useful rule of thumb is about 2W of solar for every 1Ah of battery, so a 200Ah battery suits roughly 400W. Roof space and daily use then fine tune it.
How do solar panels work on a campervan?
The panels on your roof turn daylight into DC power. A solar charge controller, ideally a Victron MPPT, takes that power and charges your leisure battery at the right voltage for its chemistry. Your 12 V loads then run from the battery, and an inverter such as the MultiPlus-II can supply 230 V sockets.
How many watts solar panel for campervan?
There’s no single right number, but most vehicles land around 400 to 500W of solar, and that’s our usual aim. As a rule of thumb, allow about 2W of solar for every 1Ah of battery. A weekend van with lights and a fridge can need less; a full-time van running a laptop and cooking on electric may need more.
Is 200w solar panel enough for campervan?
It can be for light use in summer, such as lights, phone charging and a compressor fridge, but it rarely covers everything in a UK winter. Whether it’s enough depends on your daily watt hours and battery capacity. Most of our builds land nearer 400 to 500W, using about 2W of solar per 1Ah of battery.
Is 100w solar panel enough for campervan?
For most builds, 100 W is a top-up rather than a main charging source. It can keep a battery healthy while the van is parked and cover small loads in summer. If you run a fridge full time, work remotely or use 230 V appliances, you’ll want more solar alongside alternator charging, often 400 to 500W in total.
How to install solar panel on campervan?
A solar install covers the roof mounting, a weatherproof cable entry, a DC isolator, protection, a solar charge controller and the connection to the battery. The wiring must be sized and protected correctly, and the whole system tested. You can fit it yourself through our Self-Build route, or we supply and fit it at our Witherslack workshop.
What are the best solar panels for a campervan?
The best panel is the one that fits your roof, gives the output you need and suits how you mount it. Rigid panels are tougher and usually more efficient; flexible panels are lighter and lower profile. The charge controller matters as much as the panel, which is why we build around Victron MPPT controllers.
Why is my campervan solar controller showing no charge?
Check the battery is connected and the panels are in daylight first. Then check the PV polarity. If the positive and negative panel wires are swapped, Victron says the controller shows no error but charges nothing, runs hot and reads zero or near-zero PV volts. Swap the wires at the controller, with the panels covered, and recheck.
Planning it yourself? Sketch your system in our free system designer, or see our self-build campervan electrics kit.
Sources
- 1
Victron Energy SmartSolar MPPT 100/30 & 100/50 manual: technical specificationsCharge current, nominal 12 V PV power, max PV voltage, input power limiting.
- 2
- 3
- 4
- 5
- 6
Victron Energy MPPT calculator
- 7
Victron Energy Wiring UnlimitedVoltage drop no bigger than 2.5%; fuse between PV array and solar charger.
- 8
EU Joint Research Centre PVGIS: Photovoltaic Geographical Information SystemFlat-mounted, 14% losses: Cumbria and Devon, December and June.
- 9
- 10
Victron Energy SmartSolar MPPT 100/30 & 100/50 manual: installationConnection order: battery, then PV; PV first only with system voltage set manually.
- 11
Victron Energy SmartSolar MPPT 100/30 & 100/50 manual: troubleshootingReverse PV polarity: no error shown; zero charge current, heat, PV voltage near zero.
About the reviewer: Tom Alderdice
Tom holds the 18th Edition (BS 7671) and inspection and testing qualifications, plus NCC training in caravan and motorhome electrics.
Tiny Build Electrics is an Authorised Victron Energy Installer. See Tom’s full qualifications