
Reliable Off-Grid Electrical Systems for Remote Cabins
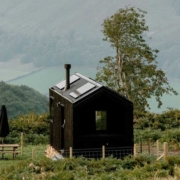
Unplugged is a leading off-grid cabin retreat provider, known for delivering thoughtfully designed, low-impact cabins in remote natural locations across the UK and Europe. While guests are encouraged to disconnect from everyday life, the cabins themselves must remain safe, comfortable, and reliable at all times.
To support this model, Unplugged required off-grid cabin electrical systems capable of operating reliably away from the grid while meeting UK electrical regulations and the expectations of a premium guest experience. Tiny Build Electrics was appointed to design and build complete off-grid electrical systems that could be replicated across multiple cabins, integrated cleanly with the build process, and supported remotely once installed.
This case study outlines how Tiny Build Electrics delivered compliant, scalable electrical systems that provide long-term reliability and peace of mind for both operator and guest.
Why Generic Power Stations and Poorly Designed Systems Fall Short
For luxury off-grid cabins, consumer-grade power stations and permanently running generators rarely deliver the reliability, safety, or low-impact performance required. Most plug-and-play power stations are limited in capacity, lack appropriate electrical protection, and are not designed for continuous use or integration with fixed cabin wiring.
Generators introduce further drawbacks, including noise, vibration, fuel storage, emissions, and ongoing servicing, all of which detract from the quiet, nature-focused experience expected from premium cabin retreats. Poorly designed electrical systems also increase the risk of overheating, electrical faults, and fire, particularly in timber or log cabin construction.
Professionally engineered off-grid cabin electrical systems address these challenges by providing silent operation, regulation-compliant protection, intelligent energy management, and proper integration with renewable generation. The result is safer installations, improved long-term reliability, and a more sustainable off-grid experience without compromising guest comfort.
Tiny Build Electrics Electrical System Design Built to UK Regulations and Best Practice
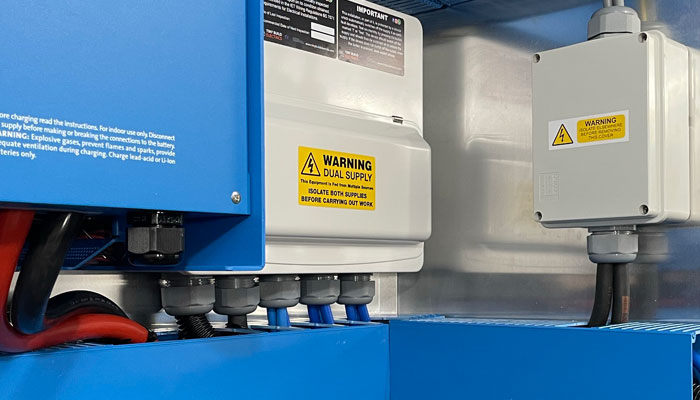
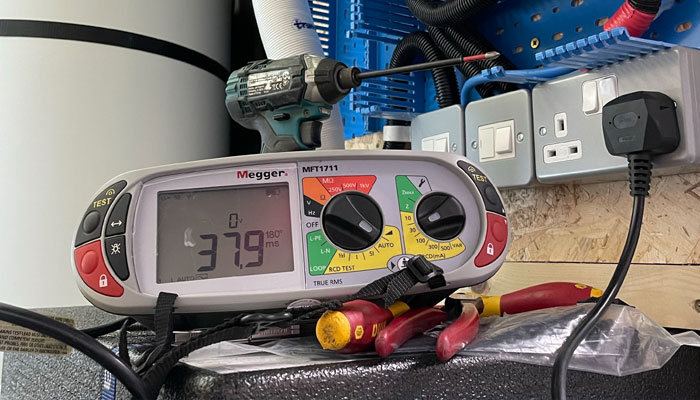
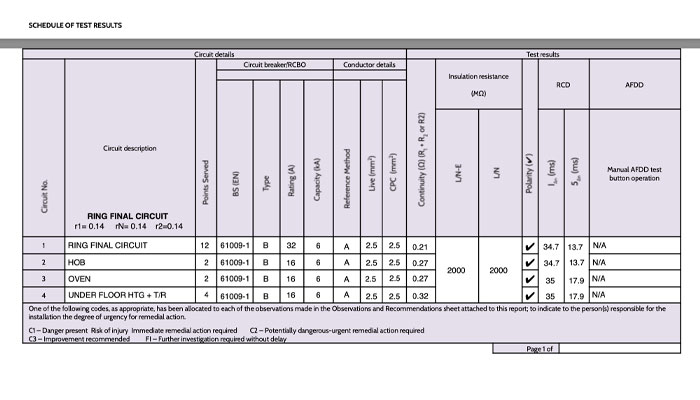
As with all Tiny Build Electric systems, electrical safety and compliance were central to the system design. All installations were designed and built in accordance with BS 7671 (IET Wiring Regulations) and the relevant UK guidance for low-voltage and off-grid electrical installations.
Given that Unplugged cabins are relocatable and often installed in rural or environmentally sensitive locations, particular attention was paid to:
- Correct earthing and bonding arrangements
- Safe isolation and circuit protection
- Fire risk mitigation
- Long-term reliability and serviceability
By working closely with Unplugged during the design phase, Tom and Charlie of Tiny Build Electrics ensured regulatory requirements were addressed from the outset rather than retrospectively. This approach provides confidence that each cabin electrical installation is safe, compliant, and professionally engineered.
Fogstar 48V Battery Systems for Off-Grid Autonomy and Safety

Reliable energy storage is critical for premium off-grid accommodation. For this reason, Fogstar 48V lithium battery systems were selected for the cabins.
The 48V architecture improves system efficiency by reducing current draw, minimising cable losses, and improving inverter performance; all important factors in any tiny build installation. Each Fogstar battery incorporates an advanced Battery Management System (BMS), providing protection against overcharge, over-discharge, short-circuit, and thermal events, significantly reducing fire risk and improving system longevity.
When integrated with Victron Energy inverter and monitoring equipment, the Fogstar batteries deliver a safe, scalable, and highly autonomous energy storage solution suitable for luxury off-grid cabin use.
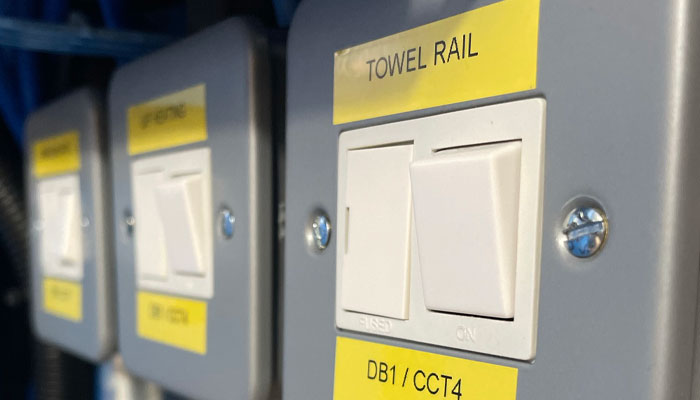
Workshop-Built Electrical Panels for Consistency and Quality Control
To ensure consistent build quality and repeatability across multiple cabins, all electrical systems were constructed as pre-assembled panels at the Tiny Build Electrics workshop in Cumbria, to Unplugged’s specifications.
Building panels in a controlled workshop environment allows components to be carefully installed, labelled, tested, and verified prior to delivery. This holistic approach offers several advantages:
- Consistent quality across installations
- Reduced on-site installation time
- Lower risk of wiring errors
- Easier integration with the cabin build process
Once complete, the panels were delivered directly to the cabin builder, ready for installation. This streamlined workflow reduced coordination issues and helped keep cabin production schedules on track.
High-Quality Victron Energy Components for Off-Grid Performance
Each system was built using proven, industry-leading components selected for reliability and long service life in off-grid environments.
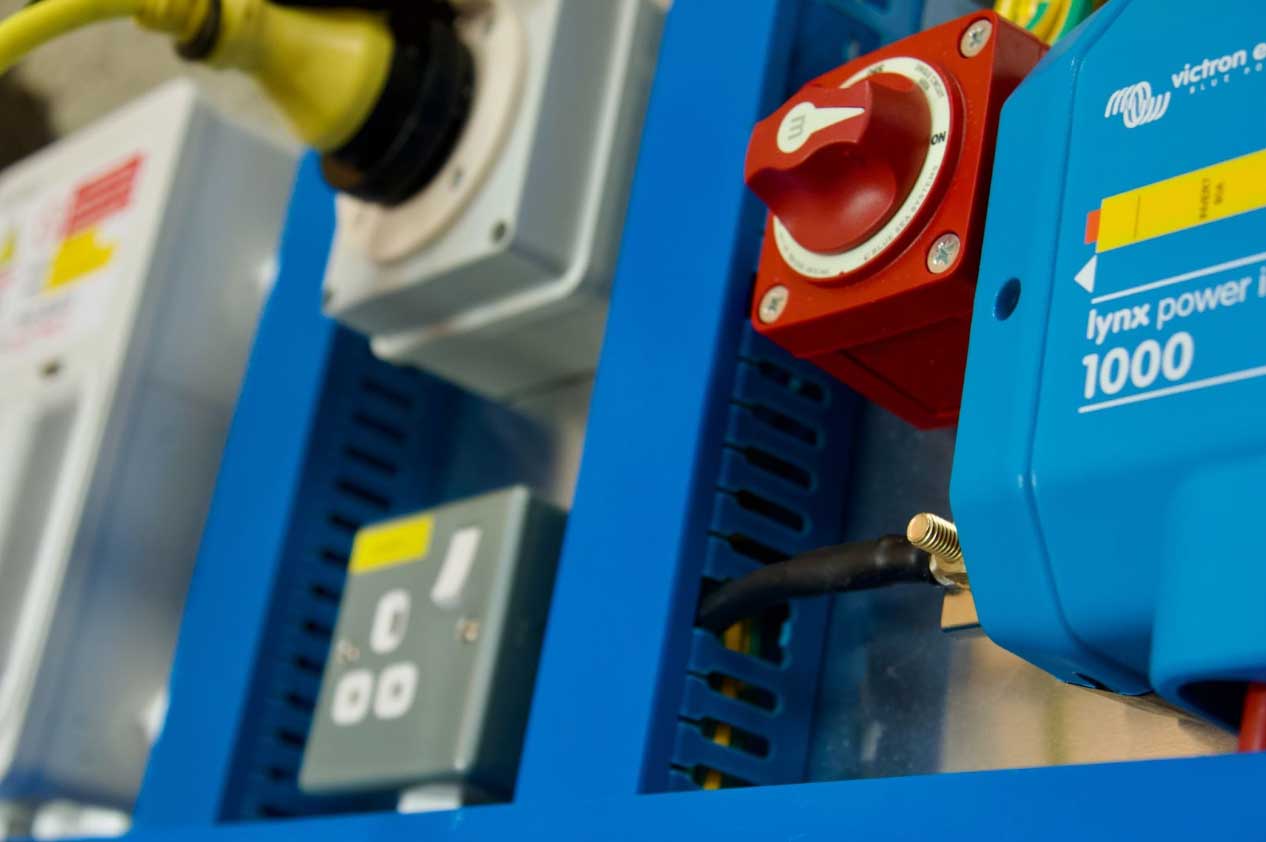
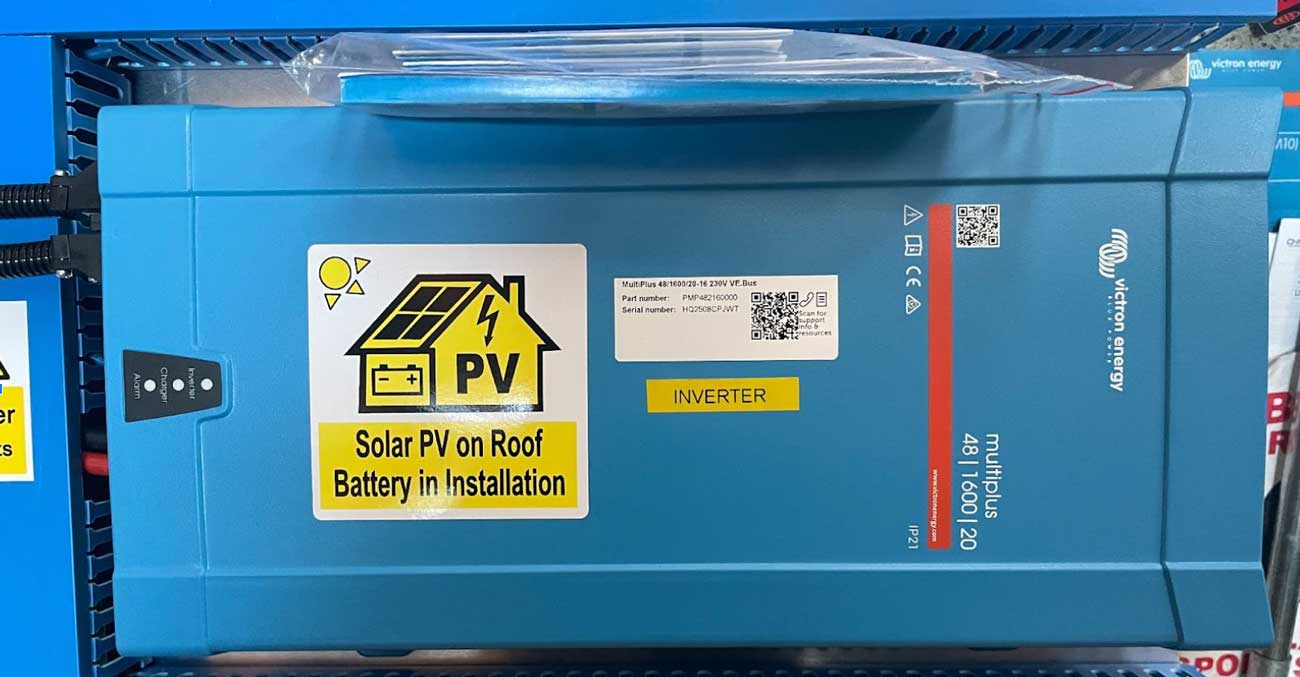
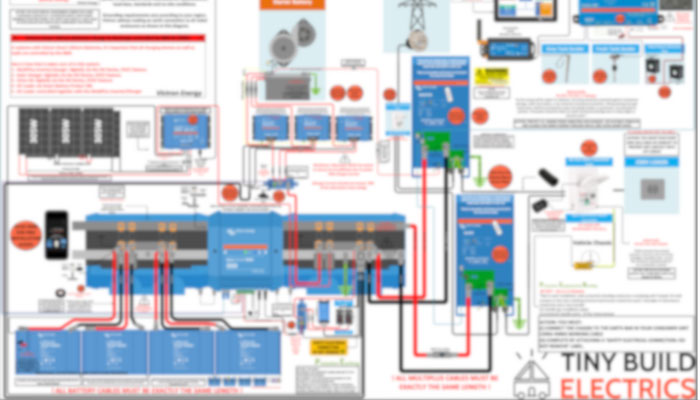
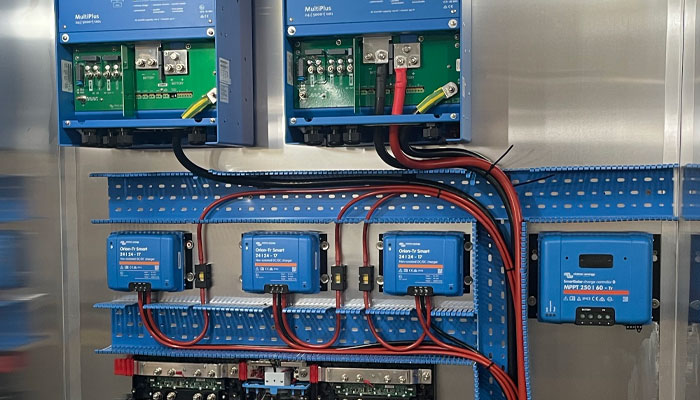
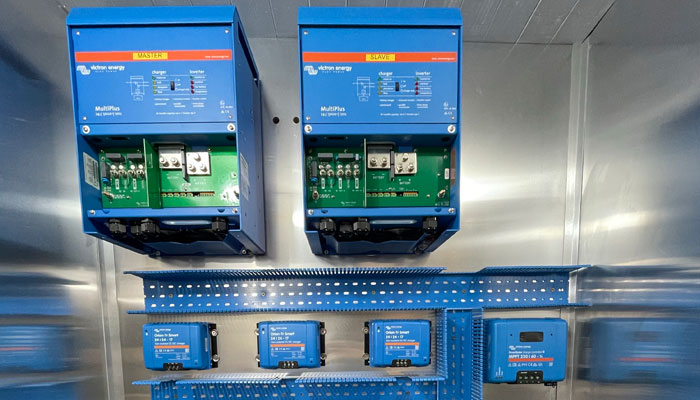
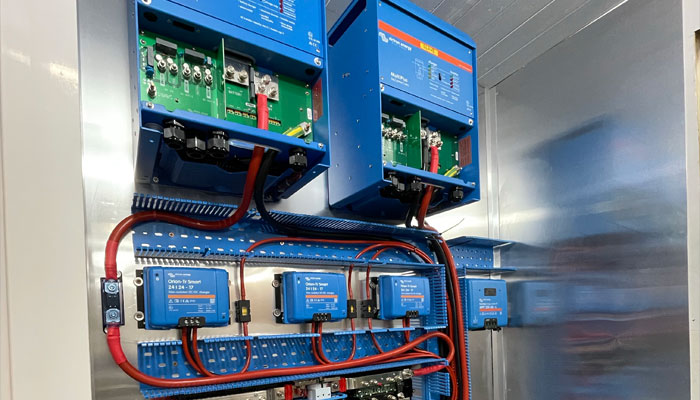
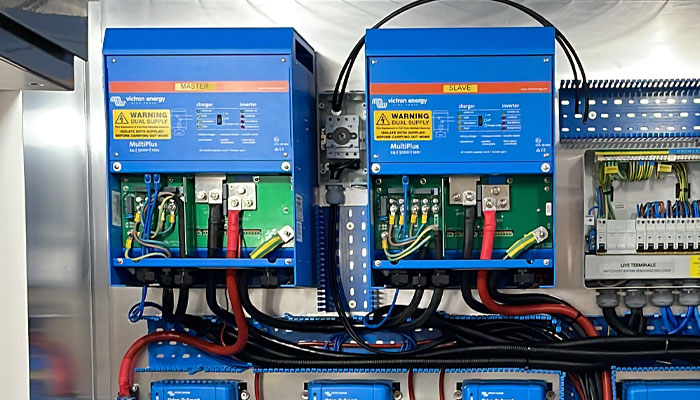
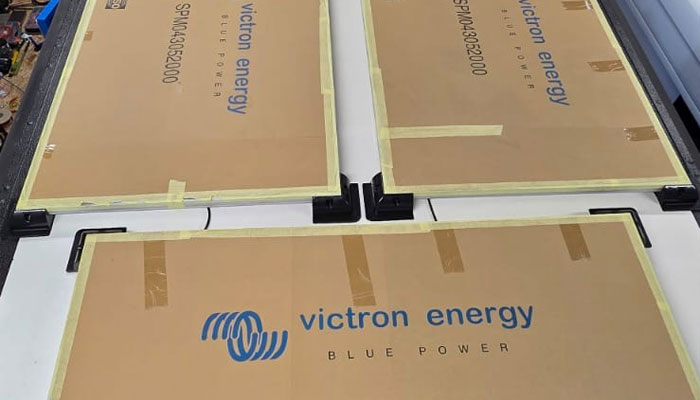
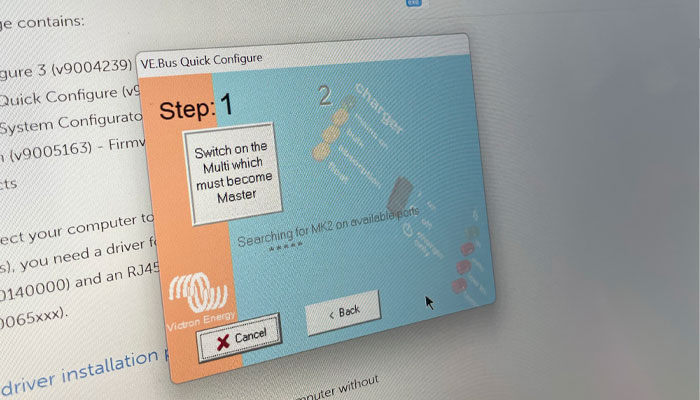
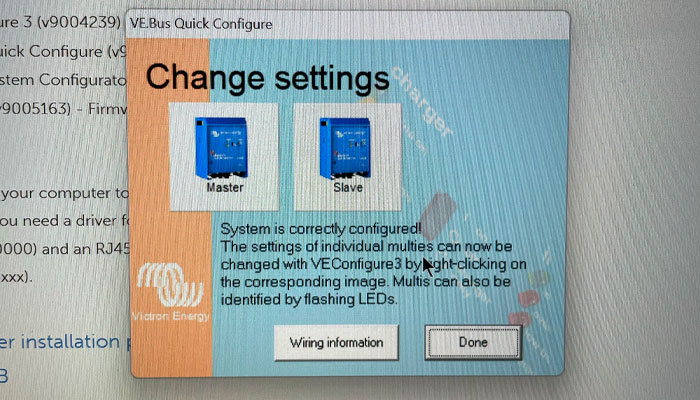
At the core of the system is the Victron Energy MultiPlus 1600VA / 48V inverter/charger, providing stable AC power while managing battery charging and auxiliary inputs. Solar energy harvesting is handled via Victron SmartSolar MPPT charge controllers, ensuring the battery system remains charged between guest stays.
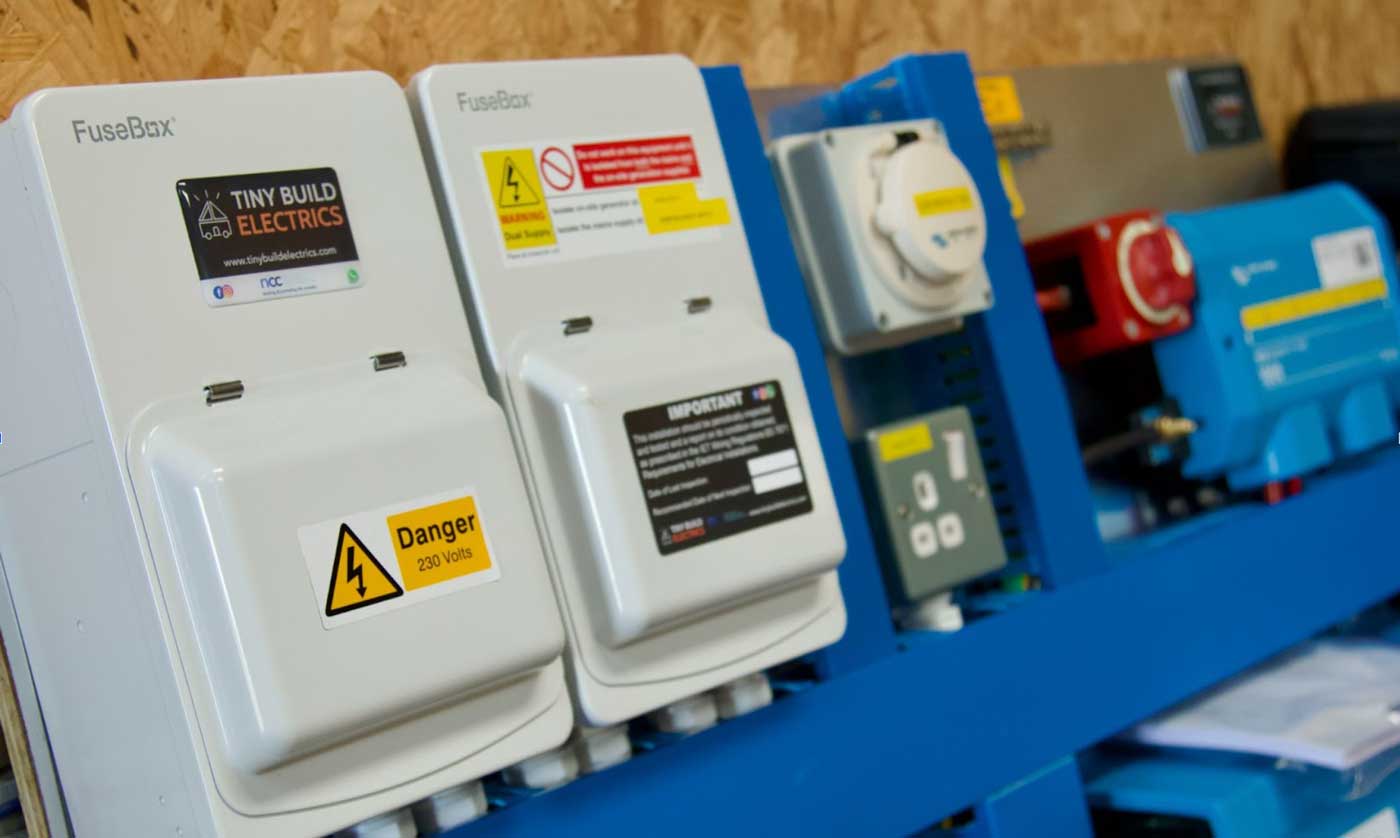
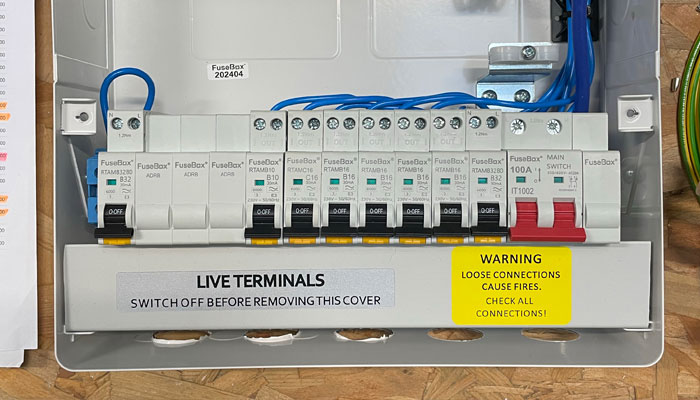
DC distribution is managed using the Victron Energy Lynx Power In, creating a clean, modular, and serviceable system layout. On the AC side, Fusebox consumer units incorporating Arc Fault Detection Devices (AFDDs) were installed. AFDDs are particularly important in log and timber cabins, where they significantly reduce fire risk by detecting dangerous arc faults that traditional protection devices may not identify.
Remote Monitoring with Victron Energy Cerbo GX
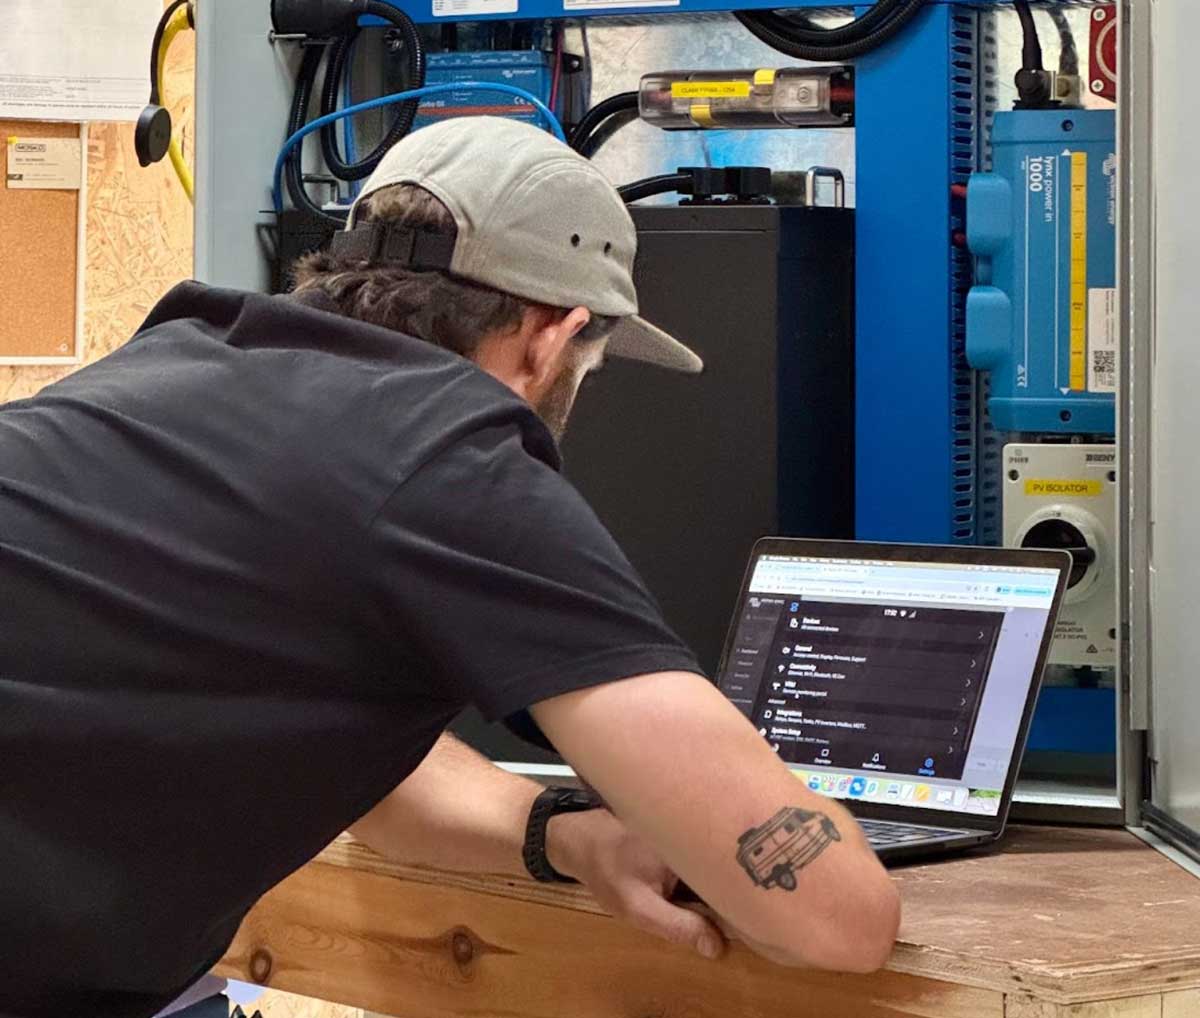
Each cabin electrical system is equipped with a Victron Energy Cerbo GX, connected via 4G. The Cerbo GX acts as the central monitoring hub, collecting real-time data on battery status, energy generation, consumption, and overall system performance.
This data allows Tiny Build Electrics to monitor systems remotely across the UK and Europe. Potential issues can often be identified early; in many cases before they impact guests.
In the rare case a fault or anomaly is detected, Tom and Charlie can remotely access the system to diagnose the issue and, where possible, resolve it without the need for a site visit. This capability is particularly valuable for a geographically dispersed cabin portfolio.
Summary and Conclusion: Who This Approach Is Right For?
This approach to off-grid electrical system design is ideally suited to luxury cabin retreat operators, eco-hospitality businesses, landowners, and developers who require safe, compliant, and reliable electrical installations in remote locations. It is particularly relevant for businesses scaling multiple cabins across different sites, where consistency, compliance, insurability, and long-term support are critical.
Rather than relying on consumer-grade power stations or improvised installations, Tiny Build Electrics delivers purpose designed, regulation compliant electrical systems using panelised construction, proven Victron Energy and Fogstar components, and thorough testing.
By combining workshop-built panels, advanced remote monitoring via Victron Energy Cerbo GX, and ongoing technical support, Tiny Build Electrics provides a level of reliability and accountability that extends well beyond installation. For Unplugged, this has delivered operational confidence, improved guest experience, and a scalable electrical solution aligned with the expectations of a premium off-grid accommodation provider.
If you operate guest cabins or any type of off-grid accommodation and are considering a specialist electrical supplier for your next project, booking a consultation with Tiny Build Electrics is the first step toward a compliant, scalable, and professionally engineered solution.
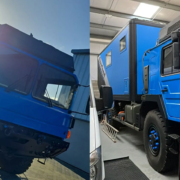
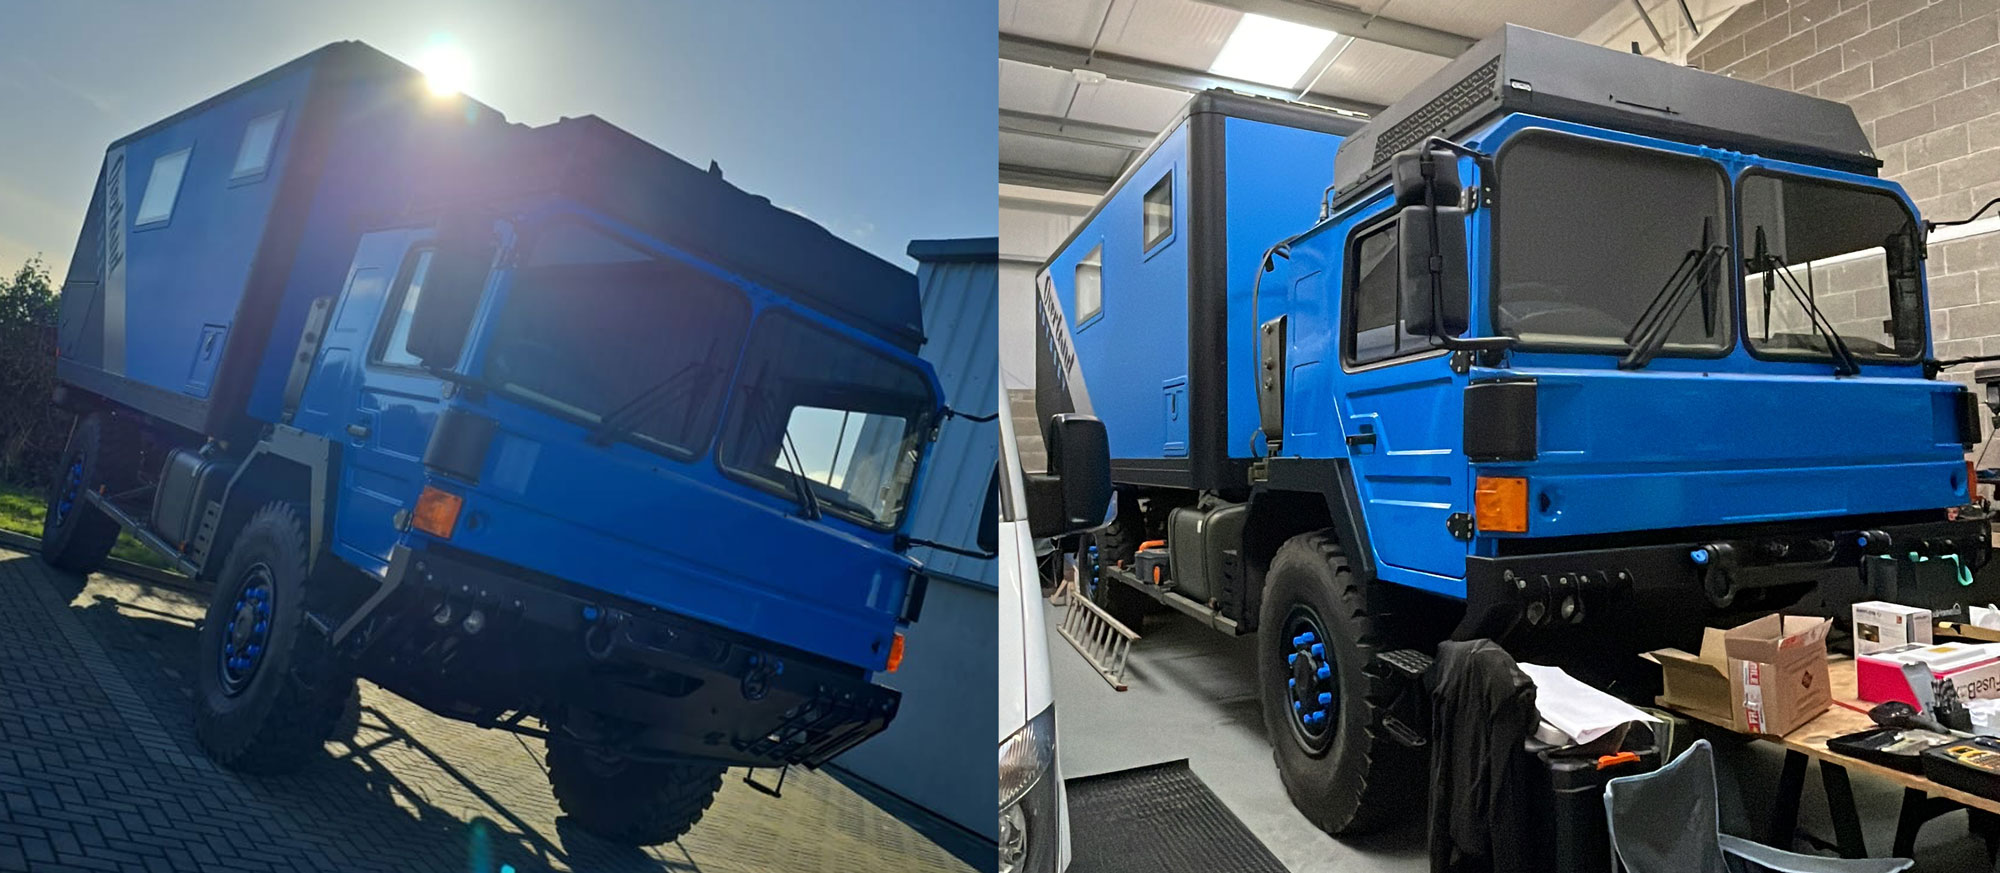


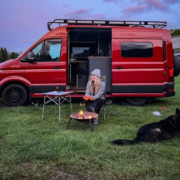


 Living in a van gives us the freedom to travel all over Europe from the comfort of our home. Pico’s De Europa, Spain


 Our hot water controller with three timed settings.
 Our two 270w panels fitted to the roof of our van. Durmitor National Park, Montenegro
 Our Victron Energy Multiplus Compact 2000w Inverter/Charger fitted under our bench seating.
 Tom from Tiny Build Electrics during a one to one consultation.
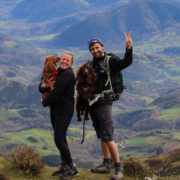
 Working on the road never feels like a chore when you have views like this! Sierra Nevada National Park, Spain.