When it comes to terminating cables, there are several methods available, each with its own benefits and considerations. When installing the electrical system within your campervan, selecting the appropriate termination method for each cable is crucial for ensuring a secure and reliable connection.
Quick answer
In short
Match the termination to the cable and the job. Crimp lugs onto battery and high-current cables with a crimper set to the lug size, then heat shrink them. Put bootlace ferrules on stranded cable going into screw terminals, and use ring terminals on studs. Strip to the barrel length, push the conductor fully home and crimp with the jaws fully closed.
- Lugs for battery and high-current cables
- Ferrules on stranded cable in screw terminals
- Ring terminals on studs
- Torqued and torque-pen marked
On this page 11 sections
- In short
- Lug cable termination
- Method for Crimping A Lug
- Ferrule cable termination
- Method For Crimping A Ferrule
- Ring crimp cable termination
- Method for crimping a ring crimp
- Direct copper cable termination
- MC4 connectors for solar cable termination
- Regulations & Standard Compliance
- Getting campervan cable termination right
Below we cover the campervan cable termination techniques which you are likely to use in your campervan: lugs, ferrules, ring crimps, MC4 connectors and direct connections with copper.
Consider several factors when you choose.
Firstly, take the type and size of the cable into account, as each termination method suits specific cable types and diameters.
Secondly, the application and environment the cable will work in play a significant role. For instance, if the cable will face harsh conditions such as high temperatures, moisture or chemicals, choose a termination method with appropriate protective features.
Additionally, consider the electrical load and voltage, so the termination method can handle the expected current and voltage levels without compromising safety.
Lug cable termination
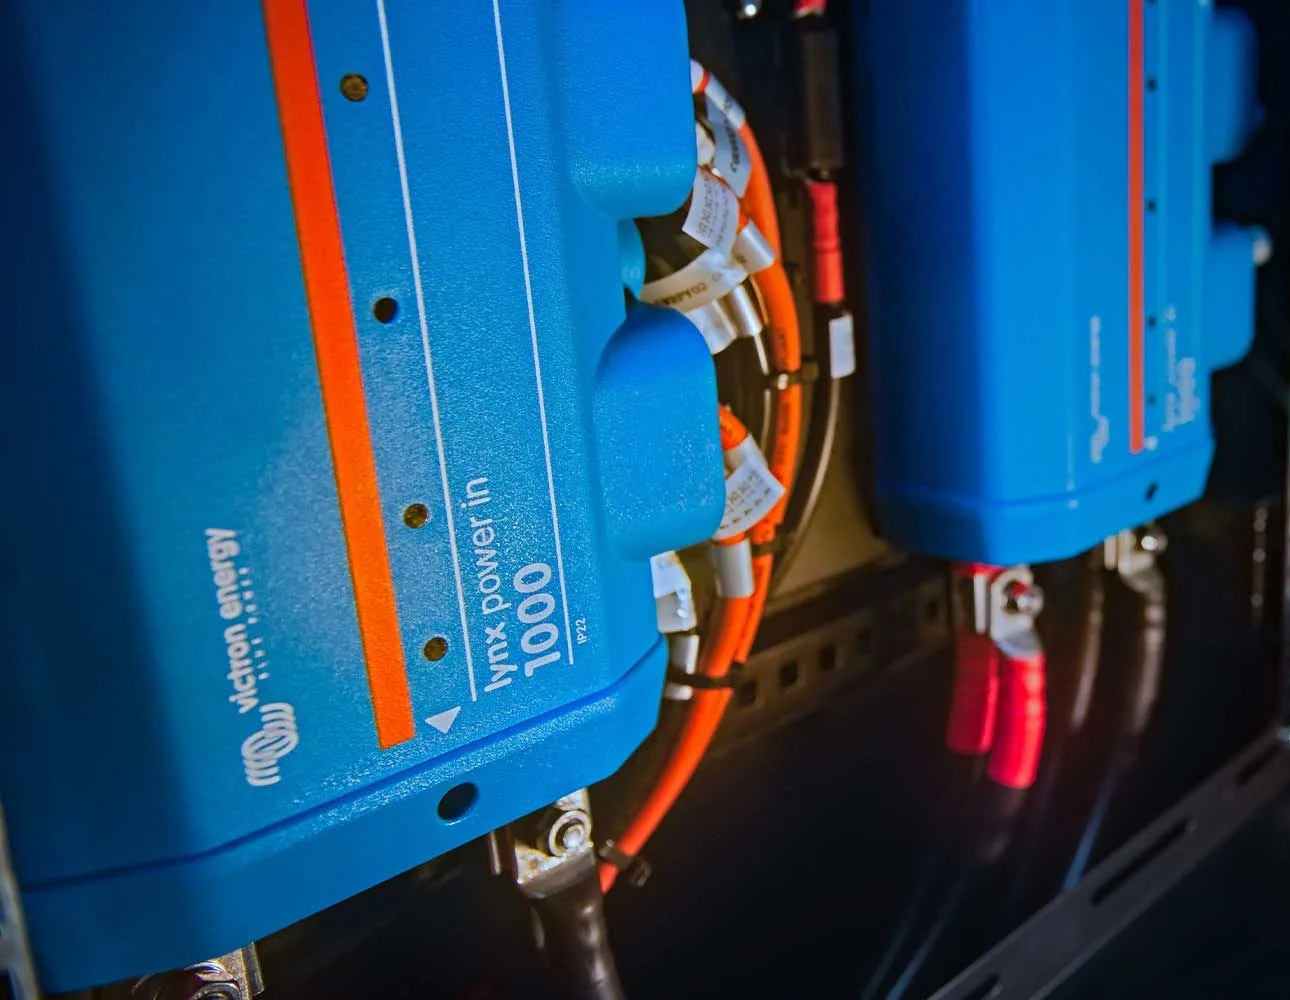
Lugs are one of the most common ways to terminate cables. They are metal connectors, typically copper or aluminium. Lugs are available in various shapes and sizes to accommodate different cable sizes and types. You insert the cable conductor into the lug and secure it with set screws or compression. You then attach the lug to a terminal block. On our builds, every connection is torqued to the maker’s figure and torque-pen marked.
Benefits of lugs
- They provide a mechanically robust and electrically reliable connection.
- Lugs can handle high current applications and are suitable for heavy-duty applications.
- They allow for easy removal and replacement of cables when needed.
- Lugs provide excellent conductivity and can withstand temperature variations.
Considerations
- Proper installation techniques and torque specifications are critical for ensuring a secure connection.
- Correct sizing and compatibility between the lug and cable are important to prevent issues such as loose connections or overheating.

Method for Crimping A Lug


Ferrule cable termination
Ferrules, also commonly known as ‘boot lace ferrules’, are cylindrical metal sleeves that terminate the individual wire strands within a cable. They are usually copper, aluminium or brass. A specialised crimping tool presses the ferrule onto the wire strands, creating a secure connection. You can then insert the terminated wire into a terminal block or other connection point.
Benefits of ferrules
- They provide strain relief, preventing wire strands from fraying or breaking.
- Ferrules enhance the electrical contact area between the cable and the terminal, ensuring better conductivity.
- They facilitate quick and efficient termination, especially when dealing with multiple wire strands.
- Ferrules offer a neat and organised appearance to cable terminations.
Considerations
- Choosing the correct size and type of ferrule for the cable size and application is crucial for a proper connection.
- Proper crimping techniques and tool selection are essential to ensure a reliable and secure termination.

Method For Crimping A Ferrule


Ring crimp cable termination
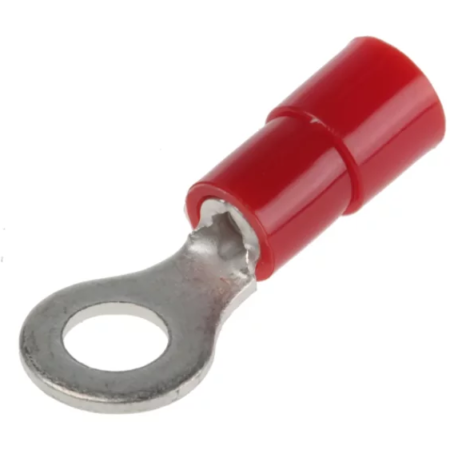
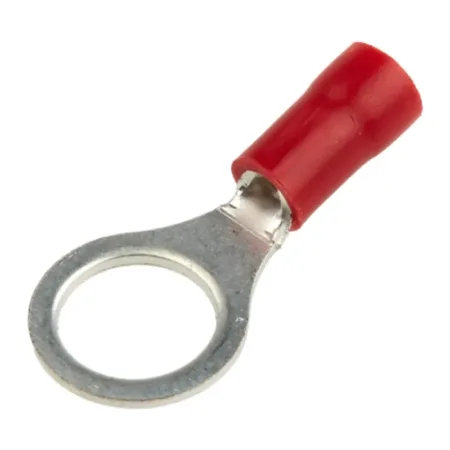
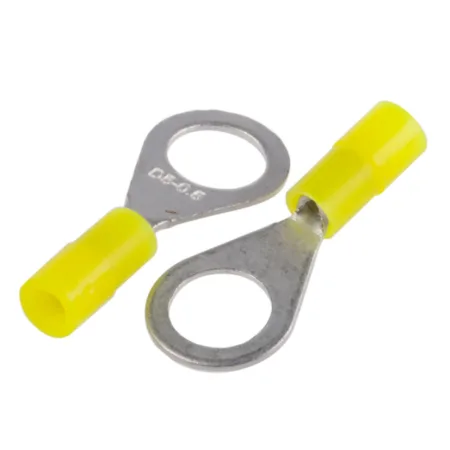
Ring crimps, also known as ring terminals or ring connectors, are common in electrical and automotive work. They are metal terminals with a circular shape and a hole in the centre. You insert the cable conductor into the barrel and secure the ring crimp with a crimping tool. The ring then fits over a stud or screw terminal.
Benefits of ring crimps
- They provide a secure and permanent connection to studs or screw terminals.
- Ring crimps are suitable for applications that require frequent disconnections and reconnections.
- They ensure a reliable electrical connection and help prevent loosening over time.
- Ring crimps are available in various sizes to accommodate different cable sizes.
Considerations
- Proper sizing and compatibility between the ring crimp and the terminal are crucial to ensure a snug fit.
- Careful crimping is necessary to prevent loose connections or damage to the wire strands.

Method for crimping a ring crimp


Direct copper cable termination
In some cases, you can connect the bare copper directly. This method involves stripping the cable insulation and directly twisting the bare copper wire to the desired connection point.
This method is common across the electrical industry. Even so, we strongly suggest using ferrules on stranded copper cables wherever you can. Not only does it make the termination neater, its easier to locate the cable into the screw terminals and safer knowing that all strands of copper are contained within a ferrule.
Benefits of direct connection with copper
- It is a simple and cost-effective method.
- You can make and undo direct copper connections easily, without additional hardware.
- This method is suitable for low-current applications or short-term setups.
Considerations
- Direct connections with copper may not provide the same level of reliability and longevity as other termination methods.
- The exposed copper wire is susceptible to corrosion, oxidation, and physical damage.
- We don’t recommend this method for high-current or critical applications.
- You must ensure there is enough copper to create a sound, secure connection. That is why the copper is ‘doubled over’ in our photos below.

MC4 connectors for solar cable termination
MC4 connectors, short for ‘Multi-Contact 4’, are electrical connectors made specifically for photovoltaic (PV) systems. They give quick and reliable connections between solar panels, as well as between panels and other system components such as, charge controllers, and combination boxes.
The main reason for using MC4 connectors in solar panel installations is their superior safety and performance characteristics. Here are some key aspects that make MC4 connectors the preferred choice:
- 01
Waterproof and Weatherproof
Solar panels are typically exposed to various weather conditions, including rain, snow, and extreme temperatures. MC4 connectors are fully waterproof and weatherproof, providing reliable electrical connections even in harsh outdoor environments. This ensures the longevity and durability of the entire solar system.
- 02
High Efficiency
MC4 connectors offer low power loss and high conductivity, which are critical for optimising the performance of solar panel systems. They minimise resistance and maximise the power transfer from the solar panels to the rest of the system, resulting in enhanced overall efficiency.
- 03
Easy and Secure Connections
The design of MC4 connectors allows for quick and simple connections, reducing installation time and effort. They feature a snap-lock mechanism that securely locks the connectors together, preventing accidental disconnections. This ease of use makes MC4 connectors ideal for both professional installers and DIY enthusiasts.
- 04
Compatibility and Standardisation
MC4 connectors have become the industry standard for solar panel connections due to their compatibility with a wide range of PV components. Thanks to this standardisation, you can easily connect different brands and models of solar panels and system components.

Regulations & Standard Compliance
Industry standards and regulations define campervan cable termination methods and techniques. Following these standards ensures that the electrical system meets the required safety and performance criteria.
Proper termination techniques take into account factors like cable type, voltage rating, current-carrying capacity, and environmental conditions, so the system is easy to install, maintain and inspect correctly.
The choice of termination method depends on factors such as the application, cable type, current requirements, and desired durability. By understanding these different techniques, you can ensure proper cable terminations that meet your specific needs while maintaining safety and performance.
The regulations in BS7671 regarding the termination of cables specify requirements for ensuring safe and reliable electrical connections. Here are some key points from BS7671 in relation to termination:
What BS 7671 says about campervan cable termination
Cable Selection: The standard provides guidance on selecting the appropriate cable size, type, and insulation based on the specific application, current-carrying capacity, and environmental conditions.
Connection Methods: BS7671 outlines various approved methods for terminating cables, such as crimping, compression fittings, terminal blocks, connectors, and suitable cable glands.
Correct Sizing: The regulations require each termination to be correctly sized for its cable. This ensures proper contact and prevents overheating due to inadequate contact area.
Mechanical Strength: Cable terminations should have sufficient mechanical strength to withstand mechanical stress, vibration, and pulling forces. This includes the use of suitable supports, clamps, and fixings.
Continuity, insulation and access
Electrical Continuity: Termination methods should ensure good electrical continuity between conductors, minimising resistance and voltage drop. Proper connection techniques and materials are crucial to achieve this.
Insulation and Protection: Cable terminations should provide adequate electrical insulation and protection against moisture, dust, and other environmental factors. Use insulating materials, insulating sleeves and appropriate enclosures as required.
Accessible and Maintainable: Termination points should be easily accessible for inspection, testing, and maintenance purposes. Adequate clearances and labelling should be provided to facilitate identification and future work.
Compliance with Manufacturer Instructions: Follow the manufacturer’s instructions and recommendations for every termination. This ensures proper use of specific termination products and techniques.
BS 7671 is regularly updated, so always check the latest version and any amendments.
The points above are a general overview, so refer to the specific requirements in BS 7671. If you don’t have the latest edition, we can guide you through the regulations. We pride ourselves in working to the regulations and also ensuring our clients are too.
Campervan cable termination FAQs
How do I crimp a battery lug?
Strip to the barrel length, push the conductor fully home and crimp with a tool set to the lug size until the jaws fully close. Then heat shrink it.
Do I need ferrules on stranded cable?
Yes, wherever stranded cable goes into a screw terminal. The bootlace ferrule stops strands splaying or breaking under the screw.
Should every connection be torqued?
Yes. Every connection is torqued to the maker’s figure and torque-pen marked, so a loose termination is easy to spot at a service.
Getting campervan cable termination right
Correct campervan cable termination gives you secure and reliable connections. Lugs, ferrules and ring crimps, made with the correct tool, are the methods we use on van cables, with MC4s on the solar side. The choice of termination method depends on factors such as the application, cable type, current requirements, and desired durability. By understanding these different techniques, you can ensure proper cable terminations that meet your specific needs while maintaining safety and performance.
About the reviewer: Tom Alderdice
Tom holds the 18th Edition (BS 7671) and inspection and testing qualifications, plus NCC training in caravan and motorhome electrics.
Tiny Build Electrics is an Authorised Victron Energy Installer. See Tom’s full qualifications