Quick answer: How do I plan a campervan electrical system?
Start with what you want to power and how you will charge, then turn that into a wiring diagram before choosing components: leisure battery, chargers, solar and controller, inverter, protection and cabling. This guide breaks the plan into stages so nothing is missed.
In short
Plan a campervan electrical system in order. Work out what you will run, then size the battery, the charging from the alternator, solar and hook-up, the inverter and the protection around it. Lithium suits most vans, a pure sine wave inverter makes the 230V, and a battery monitor shows what is going on. The 230V side is inspected and tested to BS 7671.
- Power budget first
- Lithium for most vans
- Pure sine wave inverter
- 230V side tested to BS 7671
On this page 15 sections
- In short
- Planning a campervan electrical system, stage by stage
- Batteries for a campervan electrical system
- Type of Battery
- Price Comparison
- Charging your campervan electrical system
- Inverters in a campervan electrical system
- Solar Panels
- Lighting
- Outside Lighting
- Appliances and the electrical system
- Monitoring your campervan electrical system
- Campervan electrical safety
- Testing your campervan electrical system
- Regulations for a campervan electrical system
Planning a campervan electrical system, stage by stage
Your campervan electrical system plays a big part in how comfortable the van is to live in. It is often the hardest part of the build, so we break it down into stages below. Lighting, cold beers and movie nights all depend on a reliable, safe system that you can call upon anytime, anywhere.
A well functioning setup, designed to meet your needs is fundamental to turning a lump of metal on four tyres into your home on wheels.
A campervan or motorhome electrical system tends to go unnoticed, that’s until… it stops working or there are issues. Get this stage of your build right and its going to save you headaches further down the line.
Whether you’re preparing to install a complete DIY campervan electrical system from scratch, upgrading an existing setup or want to figure out if the electrics in a pre-loved camper suit your needs, this section is for you.
Campervan electrical system components
Once you’ve received your Tiny Build Electrics wiring diagram (schematic), the next stage is to start deciding what components you’re going to fit in order to create your system.
A leisure battery is of course essential to power your lighting and appliances and depending on how you want to charge it, you may need a battery charger and/or a solar panel and solar charge controller.
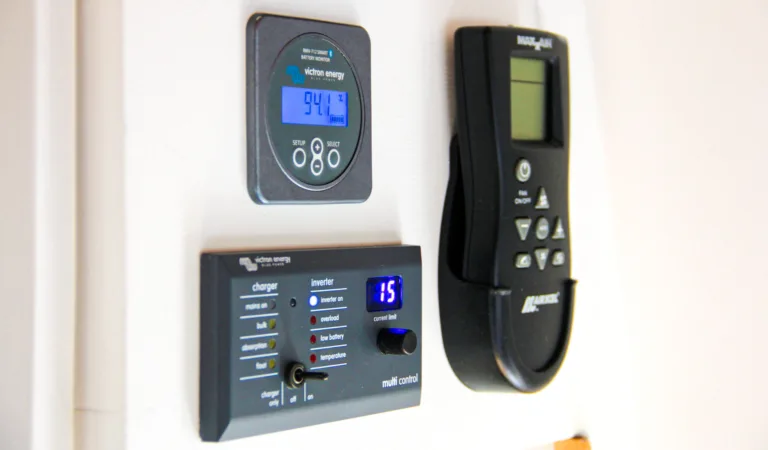
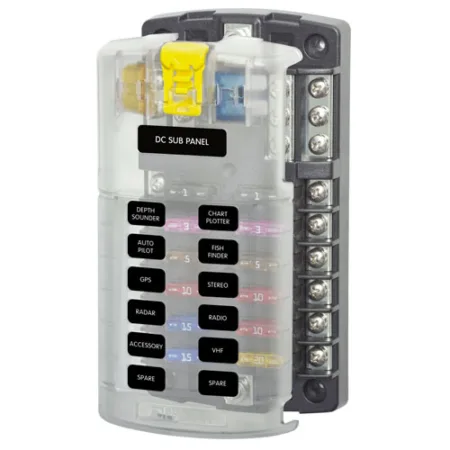
You may want to consider an inverter if you plan on running household appliances such as, blenders, hair straighteners or other such equipment that require 230V AC. Fuse boxes, switches and miniature circuit breakers will help to keep your system safe. Battery monitors, solar monitors and system monitors will help you keep an eye on the state of your system.
That’s just the bare essentials you’re going to need in order to create a campervan electrical system. But, all of these components have many variations, styles, sizes and different manufacturers.
Everything you will need to wire your camper van you will find in our shop!

Sizing your campervan electrical system
Before you dive down the rabbit hole of buying electrical components you need to size your system.
For example, over sizing your campervan electrical system will cost you a lot of money and ultimately you won’t see the benefit. On the other hand, under sizing your system will potentially damage expensive equipment and create a system that’s unusable.
Batteries for a campervan electrical system

In order to size your batteries you need to calculate the load. By ‘calculate the load’ we mean to look at all the components and appliances that you will be powering using the batteries. The more components and appliances, the higher the load, and the higher the load, the bigger the battery bank.
You need to think about appliances such as fridges, fans, pumps, hot water appliances, chargers and lighting. These are the most common appliances in a campervan electrical system. The power these appliances use depend on the manufacturer and model, so be sure to pick an appliance you are happy with before you find its power usage. Do not generalise when it comes to calculating your appliances power usage, the more accurate you can be, the better!
In order to size your system you will need to understand the equation below, this will help you find your total load.
Work out your daily amp hours
Maximum power of your appliance (watts) divided by the voltage of your system = Current (amps)
Current (amps) multiplied by how many hours of usage per day = Amp Hours per Day (Ah/day)
Example: Fan: 80watts / 12 = 6.66amps, then 6.66amps X 2 hours = 13.3ah/day
| Appliance | Power (watts) | Usage (hours per day) | Amp Hours Per Day (Ah/Day) |
|---|---|---|---|
| Fan | 80 | 2 | 13.3 |
| Fridge | 70 | 6 | 35 |
| Lighting | 22 | 2 | 3.6 |
| Water Pump | 80 | 1 | 6.66 |
| USB Sockets | 5 | 3 | 1.25 |
| WI-FI Hub | 5 | 24 | 10 |
| Diesel Heater | 60 | 5 | 25 |
| Tank Level Sensors | 2 | 24 | 4 |
| Smoothie Maker | 250 | 0.05 | 1.04 |
| Hair Straighteners | 250 | 0.1 | 2.08 |
| Laptop Charger | 80 | 6 | 40 |
| Inverter (no load) | 15 | 6 | 7.5 |
| 149.43 |
Allow for the worst case
Always calculate the worst case scenario. This allows for oversights and items you may add towards the end of your build.
When calculating how long each of your lights are on for, use one hour in the morning for the entire lighting system and one hour in the evening for the entire lighting system. This averages out the lighting usage nicely.
Remember when thinking about how long appliances will be on for, items like fridges intermittently cut in and out. Take this into consideration. We have allowed 6 hours per day for the fridge, but this depends on the fridges size, settings and ambient temperature of your campervan.
From the table above we can now see that our total daily usage will be around 149.43ah/day. Remember this is worst case scenario, in the summer your heater won’t be running as often and in the winter your fridge won’t be on for as long.
From load to battery size
Once you have calculated the load, you roughly know what size battery you need.
We say ‘roughly know’ because how you recharge your batteries also comes into play when choosing the size of your batteries. A larger charging source that will keep up with demand means your battery bank doesn’t need to be as large, limited charging sources means you need to allow for the full amount of ‘ah’ between each charge period.
Type of Battery
Your battery type depends upon a few things.
1. Budget: how much you are willing to spend on your batteries.
2. Travel style: Do you plan to be fully off-grid, partially off-grid, use campsites or maybe a mixture of them all?
If you have access to shore power charging on a regular basis, campsites for example, then how long your battery bank needs to operate off the grid is not too much of an issue. But, if you plan to be fully off-grid your batteries need to be able to sustain your load as well as be charged and discharged on a regular basis by your engine and/or solar array.
Read more about battery types on our dedicated Battery Types Guide!

Price Comparison
The table above clearly shows us that whilst the lithium-ion battery is more expensive than an AGM battery, it certainly is cheaper when you consider the cost per cycle over its lifetime. The life cycle of the lithium-ion battery is certainly unmatched and is something to consider if you want a ‘fit and forget’ campervan electrical system.
| Battery Type | Average Life Cycles @ 50% DOD | Price (£) (TBE SHOP) | Cost per Cycle (£) |
|---|---|---|---|
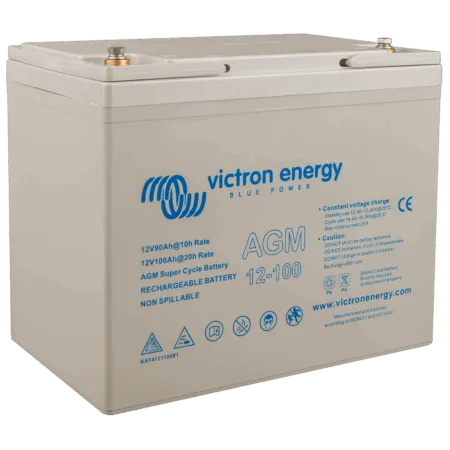
| Victron Energy 110ah AGM Battery | 850 | 316.99 | 0.37 |
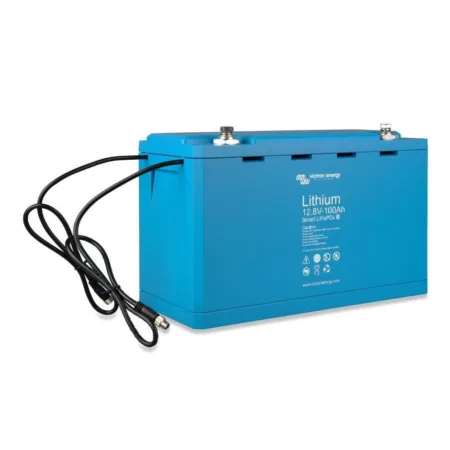
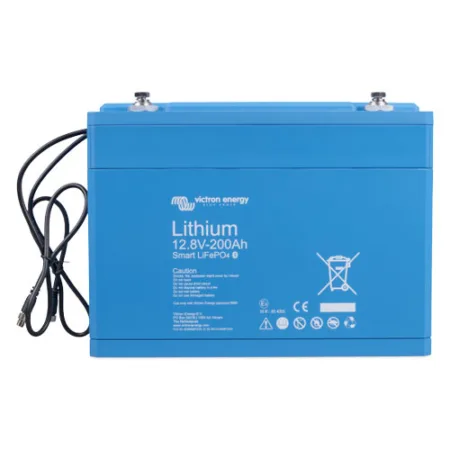
| Victron Energy 100ah LiFePo Battery | 5000 | £1,275.60 | 0.26 |

Flood lead acid (FLA)
Flood lead acid batteries consist of two lead plates, one positively charged, the other negative. The battery is then flooded with a liquid electrolyte, sulphuric acid which covers all internal parts. When charging commences the acid and lead plates react to store electricity.
Pros
- Low cost
- Resilient to occasional over charging
- Proven technology
- Lifespan can be 4-8 years with regular maintenance and careful charging
- Less susceptible to temperature differences
Cons
- As the batteries age the performance will degrade to the point where the battery won’t hold a charge
- Should be stored inside an enclosure (battery box)
- Battery can only be drained to a maximum DOD of 50%, otherwise you’re likely to incur damage.
- Must be vented in an enclosed area as some FLA batteries will emit gases.
- Stricter regulations on how FLA batteries are fitted and how close they are installed to inverters and chargers.
- Require regular maintenance
- Heavy
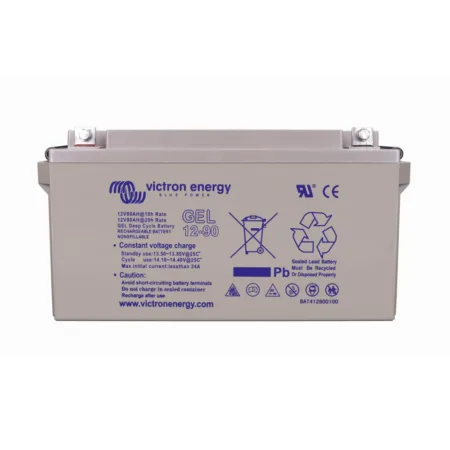
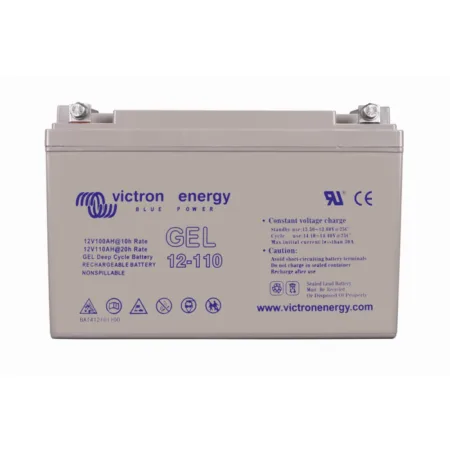
Gel
Gel batteries use the same technology as FLA but instead of liquid acid they are filled with Gel. As you will see below, it has more advantages than FLA.
Pros
- Doesn’t emit any nasty gases
- Sealed so can’t leak or produce any gas
- Maintenance free
- Operates in a wider array of temperatures than AGMS.
- Ideal for vans that are stored over winter and not used for long periods of time
Cons
- Very sensitive to depth of discharge
- Do not recover well from a low DOD
- More expensive than conventional FLA and AGM
- Heavy
Absorbed glass mat (AGM)
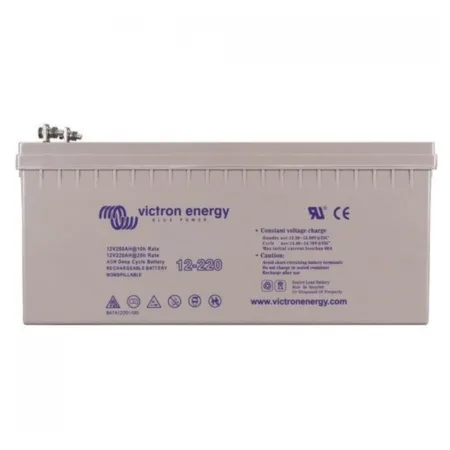
AGM batteries work in a similar manner to FLA and Gel. Instead of acid or gel they have electrolyte soaked glass fibres between the positive and negative plates.
Pros
- Long shelf life
- Maintenance free
- Ideal for vans that are stored over winter and not used for long periods of time
- Can be installed sideways as its a sealed unit and cannot leak (unless damaged)
- Smaller than the conventional Gel equivalent
Cons
- Very sensitive to depth of discharge
- Do not recover well from a low DOD
- More expensive than FLA
- Heavy
- Poor performance in colder temperatures
Lithium LiFePO4 / Lithium-ion / Li-ion
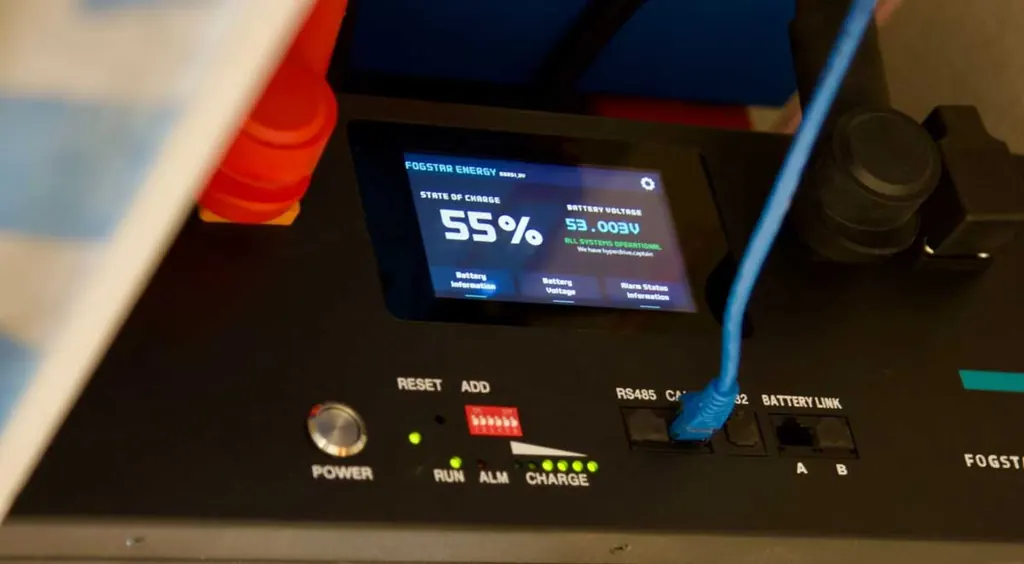
The famous lithium-ion battery. If you have done any sort of research on tiny building or off grid systems then I am sure you would have come across the lithium battery. Currently at the top end of the battery technology market this is a battery you should be seriously considering for your build, there’s just one downside… £££!
Pros
- 30% lighter and smaller than FLA, GEL & AGM
- You can use up to 90% of their capacity meaning you need less batteries for the same output
- Low internal impedance (resistance) mean these batteries also charge a lot quicker than the other types of batteries.
- Can be installed in various orientations
- Long life cycles if charged and discharged in accordance with manufactures instructions
- Maintenance Free
Cons
- Very sensitive to charging in low temperatures
- Expensive, although prices have started to drop over the past few years
- A battery management system is required to protect the lithium-ion battery bank from excessive discharging, over charging and to control the load and balancing of each internal cell. Most of the time this system is built into the battery itself.
- Some extra monitoring may be required such as battery temperature monitoring
Which battery should you choose?
If you want the cheapest then Flood Lead Acid is for you. These batteries are as cheap(er) and can be picked up in various frame sizes as well as amp hour sizes. But please note, these batteries need ventilation and you need to monitor them to ensure they are not leaking, therefore they cannot be buried deep in your tiny build, bear this in mind!
If you want a fit and forget system with efficiency and a long cycle life then Lithium-ion is for you. Yes, the lithiums are expensive, but, they are slowly coming down in price due to their popularity. When you consider the price of the lithium you must consider its lifecycle and depth of discharge (DOD). Considering a absorbed glass mat (AGM)battery will enter in at around 500 cycles, lithiums are 5000+ cycles. Not only will they last longer (if installed and charged correctly) they are a LOT lighter which is important when it comes to conversions such as vans, motorhomes, buses and lorries which have weight limits.
Charging your campervan electrical system
Solar
Using solar panels is a really efficient and economical way of charging your batteries. There are, of course, many different types and sizes of panels you can use. We recommend fitting as many solar panels as you possibly can in the space you have available, but you must take into consideration such items as vents, sports equipment and satellite dishes that may cast a shadow onto your solar panels. This could therefore have a detrimental effect on your solar panels charging capabilities.

Alternator Charging
Using the alternator of your vehicle is another great way of charging your batteries. If the engine is running and the alternator is spinning then you may as well harness some of this power to help charge your battery bank. There are a few ways you can do this.
1. Voltage Sensing Relay: When your engine starts, the alternator produces a charging voltage which is sent to your engine battery. A voltage sensing relay will sense the charge voltage (above 13.7V) and close. Once closed, it then sends the charge current to your leisure batteries. As soon as you turn your engine off, the voltage of your engine battery will drop below 13.7V and the relay will open, disengaging the engine battery from the leisure batteries. This is key because you do not want to wake up to a discharged engine battery the following morning. This method should not be used with batteries that require several stages off charge. Most modern leisure batteries now require a three stage charge in order to maintain optimum life cycles, therefore we do not recommend this way of charging.

DC-DC chargers
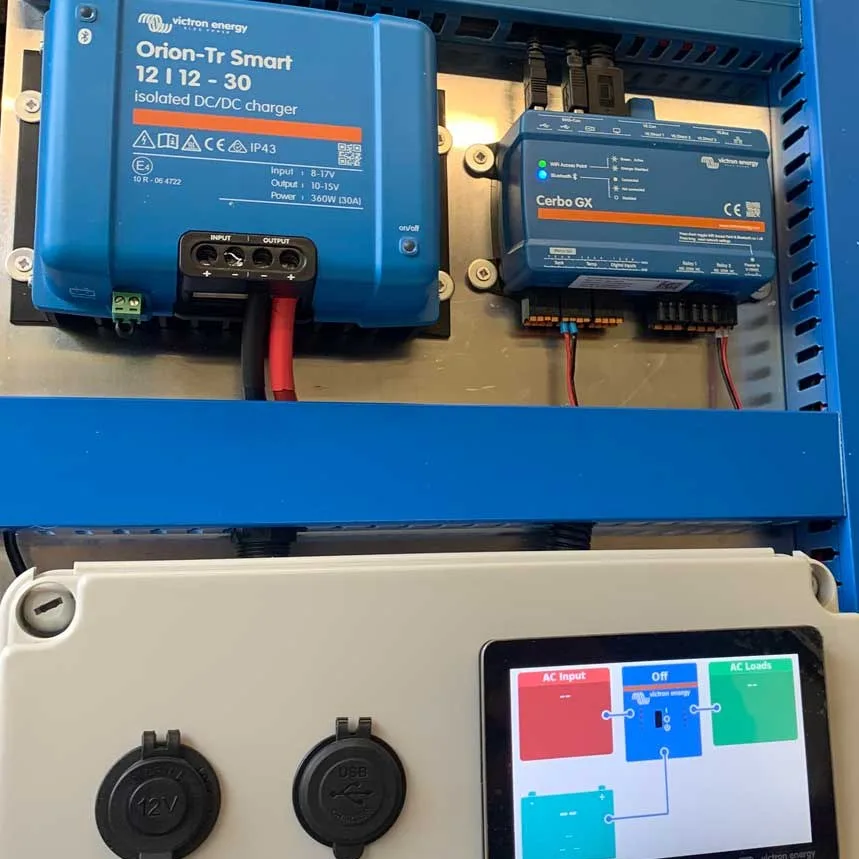
2. Battery to battery charger (DC-DC Charger): A battery to battery charger, like a voltage sensing relay, sits between the engine battery and the leisure batteries. The battery to battery charger converts the voltage its receiving from the engine battery into a voltage better suited to the charge parameters of your leisure battery. It also offers three stage charging, which, for most leisure batteries, is the preferred way of charging. The three stages of charge are Bulk, Absorption and Float.
These three charge parameters are not only critical to maintaining a healthy battery system within your conversion but must be adhered to in order to comply with manufacture’s warranties. If these aren’t followed this can have a detrimental effect on your warranty and life cycles of the batteries. This clever device is a must if you plan to live and travel off the grid. We highly recommend fitting a battery to battery charger within your installation.
Smart alternators
Battery to Battery chargers are also required on modern engines which have a ‘smart alternator’. A smart alternator decouples itself once the engine battery is satisfied with the voltage of the engine battery. This takes the load of the alternator off of the engine and therefore makes it more fuel efficient. Regardless of the drop in voltage from the engine battery, a battery to battery charger will continue to charge, depleting the engine battery of its power. Once the engine battery is low, it will call for power, re-coupling the alternator to the engine for some charge voltage.
So this is where a B to B charger is superior to a VS relay. The VS relay would open as soon as the alternator decoupled itself, because it would think the engine has been switched off. At this stage a VSR would open and stop charging and you would be driving along without a charge current for your batteries.

Inverters in a campervan electrical system
Campervans are an excellent way to travel, allowing you to explore new places while enjoying the comfort and convenience of a home on wheels. To make the most out of your campervan, it’s important to have the right equipment, and one essential piece of equipment is an inverter.
An inverter is becoming ever more popular in campervans and tiny home builds. Inverters convert DC voltage into AC voltage. They are a very complex piece of equipment and can be very expensive so a phase in which you want to get correct.
Find out more about inverters here!
When choosing an inverter you need to refer back to the table earlier in the article. Again, you need to look at the loads in which you will be using your inverter to power.
| Appliance | Power (watts) | Usage (hours per day) | Amp Hours Per Day (Ah/Day) |
|---|---|---|---|
| Smoothie Maker | 250 | 0.05 | 1.04 |
| Hair Straighteners | 250 | 0.1 | 2.08 |
| Laptop Charger | 80 | 6 | 40 |
| Inverter (no load) | 15 | 6 | 7.5 |
| 595 | 50.62 |
Looking at the chart above, all the 12V only items have been removed and we are specifically looking at the items which require a single phase, alternating current with a voltage of 230V. The combined wattage of all these items is 595W.
So here a 1000w inverter would be sufficient to power these 230V items. You could use a smaller 600W inverter here. However, we advise going slightly bigger than you need to allow for future additions.
Pure sine wave & modified sine wave inverters
At Tiny Build Electrics we advise ensuring that the inverter you purchase is pure sine wave and NOT modified sine wave. Put simply, the pure sine wave gives a smoother alternating sine wave which is more friendly towards your electronic items, especially those that have single phase AC motors like smoothie makers and blenders. By contrast, modified sine wave gives a different wave, its more jagged and square. This is fine for items like lamps and hair straighteners because they are not reliant upon a true alternating sign wave. But, for the longevity of your system, pure sine wave will run all types of electronic equipment you decide to bring into your campervan.

Solar Panels
Installing solar panels on a campervan can be a great way to power your adventures and reduce your reliance on traditional sources of energy. Here are some things to consider when planning your installation:
- 01
Power requirements
Determine how much power you need for your campervan by calculating your average daily power usage. This will help you determine how many solar panels you need to install.
- 02
Available space
Consider the available roof space on your campervan, as this will determine the size and number of solar panels you can install. You may also want to consider the orientation of the panels and the amount of sunlight they will receive.
- 03
Type of solar panel
There are two main types of solar panels: monocrystalline and polycrystalline. Monocrystalline panels are more efficient, but also more expensive. Polycrystalline panels are cheaper but less efficient.
- 04
Charge controller
A charge controller is necessary to regulate the charging of your battery and prevent overcharging. Make sure to choose a controller that is compatible with your solar panel and battery system.
- 05
Wiring and installation
Proper wiring and installation are critical to the performance and safety of your solar panel system. Consider hiring a professional to install the system, or ensure that you have the knowledge and experience necessary to do it yourself.
- 06
Cost
Finally, consider the cost of the solar panel system, including the panels, battery, charge controller, and installation. While a solar panel system can be expensive upfront, it can save you money in the long run by reducing your reliance on campsites.

Lighting
Lighting is an important aspect to your build and something you need to plan carefully. It’s not quite as simple as fitting some lights up on the ceiling and having done with it.
You need to consider areas you will need to light the most, kitchen counter tops, shower rooms and toilet rooms and also consider the ambience you want to set in your campervan at night time.
After all, you don’t sit in your house in the evenings with all the main lights on full whilst trying to unwind and relax. Some comfort lighting is key, fairy lights, pelmet lights, low level cabinetry lights. These small additions make a huge difference to overall comfort of your campervan.
A well balanced lighting system in any installation, whether it be a campervan, motorhome, boat or log cabin, can turn a house into home.

Outside Lighting
An aspect of the lighting that most van dwellers forgo is outside lighting. When sat outside your campervan in the evenings you will want to light the outdoors area. Outside lighting is great if you plan to take pets with you in your camper van, easy to keep an eye on them when let out at night.
If you have a tall step up into your campervan it may be worth considering lighting the step area to avoid tripping when entering your vehicle at night.

Appliances and the electrical system
Appliances and their locations are key to any ergonomic build. Fridges, fans, heaters, water pumps and water heaters are key to a tiny build, especially if you plan to live in it full time.
Not only is there a lot of research involved in what type of appliance you require, its also worth dedicating plenty of planning time into the locations of each appliance. This can make a huge difference to your build. Basic things like ensuring your fridge is in or near your kitchen, your fan is located in an area to remove any cooking smells, steam or smoke.
All of this planning feeds into your campervan electrical system and also helps at the installation stage. Knowing where your cable runs are as well as your switch switch and socket locations. Envisaging these locations and runs whilst standing in an empty van is a great way of preparing for your install.
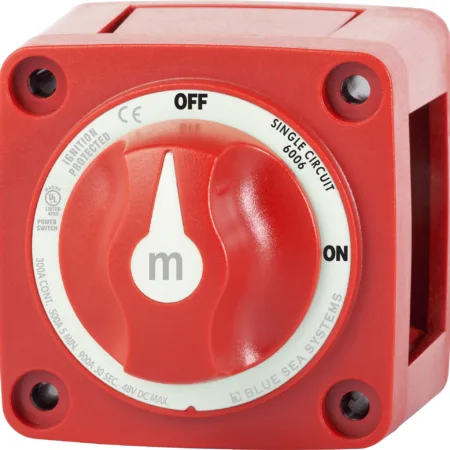
Each appliance will require isolation via a switch. Whether that be local (next to or near to the appliance) or remote (in a cupboard or electrical panel).

Monitoring your campervan electrical system
A battery monitor measures battery voltage and current flow into & out of a battery bank and uses these measurements to accurately track the amount of charge left in the battery bank.

Battery monitoring is key to the longevity of your campervan electrical system. Monitoring your batteries performance will give you the most from your investment, ensuring DOD (depth of discharge) and SOC (state of charge) stay within the manufacturers specified parameters. Discharging your batteries too far or not charging them in a required format will damage your batteries and will reduce their life cycles.
Shunt based battery monitoring systems, like the Victron Energy BMV-712 are more reliable than simple voltmeters that are traditionally used as a gauge for tracking the state of charge (SOC) of a battery bank.
Most popular battery monitors now come equipped with bluetooth and the option to see the results from the comfort of your mobile phone. This is a great way of keeping track on your system status.
Victron Energy MPPT controllers will monitor the performance of the solar array giving you information on the overall daily yield, maximum voltages from both the panels and batteries and any errors that may have occurred.
We heavily advise fitting monitors for your batteries as well as the charging sources. If you do this it gives you a good idea of the health of your system. You have more than likely spent a lot of money on batteries, appliances and inverters the monitoring systems are a must to protect your investment.

Campervan electrical safety
Fuses
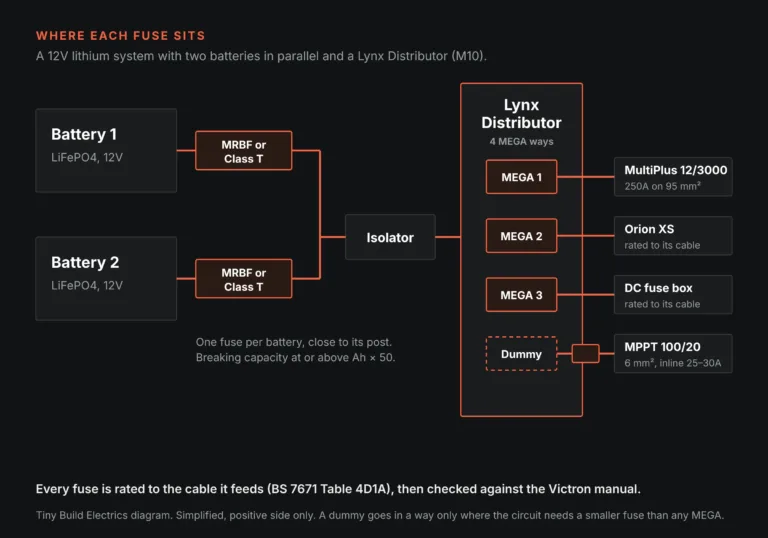
A fuse breaks the circuit during excess current flowing through it. Fuses protect appliances, batteries, cables and most importantly your whole tiny build. Without fuses faults are able to go unnoticed, arc against the chassis of the vehicle and worse, create a fire.
Miniature Circuit Breakers
A miniature circuit breaker, or MCB, is an isolating component installed within a distribution board or consumer unit, which is designed to automatically trip the circuit if a fault is detected. This means that the power supply is cut off to prevent damage to the circuit, which is typically triggered by an overload or short.
Residual Current Devices
A residual current device (RCD) is a safety device that disconnects the supply automatically if there is a fault. RCDs are far more sensitive than normal fuses and circuit-breakers and provide additional protection against electric shock.
An RCD monitors the electrical current flowing through one or more circuits that its protecting. If the RCD detects current flowing down a path it shouldn’t, it detects an imbalance and the RCD will disconnect the supply extremely quickly, significantly reducing the risk of death or injury.

Testing your campervan electrical system
Basic testing
Basic tests on your campervan electrical system confirm it is correctly connected and safe.
Many forgo this stage and it can cause some major issues further down the line.
Spending some time to run your eyes over the installation to ensure everything is connected correctly, referencing your Tiny Build Electrics schematic diagram, is key to the longevity of the system. On our builds, every connection is torqued to the maker’s figure and torque-pen marked.
For the testing of your 230v systems, we advise contacting a qualified electrician to test and inspect this part of the installation. These tests need more complex equipment, and some of them are carried out live, so a competent person must do them.
Labelling
Labelling is a crucial aspect of any installation. By labelling items, you also future-proof your campervan electrical system. If a fault was to occur you can easily isolate and location the circuit in question. Also, in an emergency if an appliances needs shutting down being able to quickly identify isolators and fuses is critical.
If you plan to rent your van for other people to use, labelling is a must and will ensure people who are unfamiliar with your build know exactly where everything is located.
Basic testing guide here!
Regulations for a campervan electrical system
Here at Tiny Build Electrics we take regulations seriously and you should too. Wiring a camper van and creating an off-grid system isn’t just about installing solar panels and batteries. The most important aspect of your build is safety and we pride ourselves on the safety of our systems.
If you are building your tiny home on wheels in the UK you need to be conforming to the British standard 7671 regulations, also known as, BS7671. These wiring regulations are a national standard for electrical installations. Being compliant throughout your build will result in a safe installation for you and your family. These regulations cover all things electrical in your tiny build from your 12V system to your 230V system in your campervan.
There is also a standard specific to motor caravans, BS EN 1648-2. These regulations specify safety, health and functional requirements for 12 V direct current (DC) extra low voltage (ELV) electrical installations for habitation aspects of motor caravans and caravans.
Campervan electrical system FAQs
How do I plan a campervan electrical system?
Start with what you want to power and how you will charge, then turn that into a wiring diagram before choosing components: leisure battery, chargers, solar and controller, inverter, protection and cabling. This guide breaks the plan into stages so nothing is missed.
Where do I start planning a campervan electrical system?
With a power budget. List what you will run and for how long, and the battery size, charging and inverter all follow from it.
Is lithium worth it in a campervan?
In our comparison, LiFePO4 works out at about £0.26 per cycle against £0.37 for AGM, and you can use far more of its capacity.
Does a campervan electrical system have to meet regulations?
The 230V side falls under BS 7671, including Section 721 for caravans and motor caravans. It should be inspected and tested by a qualified electrician.

About the reviewer: Tom Alderdice
Tom holds the 18th Edition (BS 7671) and inspection and testing qualifications, plus NCC training in caravan and motorhome electrics.
Tiny Build Electrics is an Authorised Victron Energy Installer. See Tom’s full qualifications