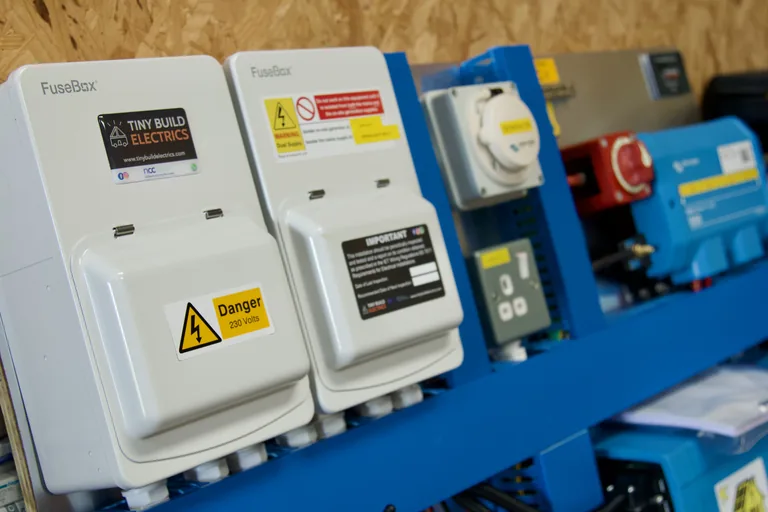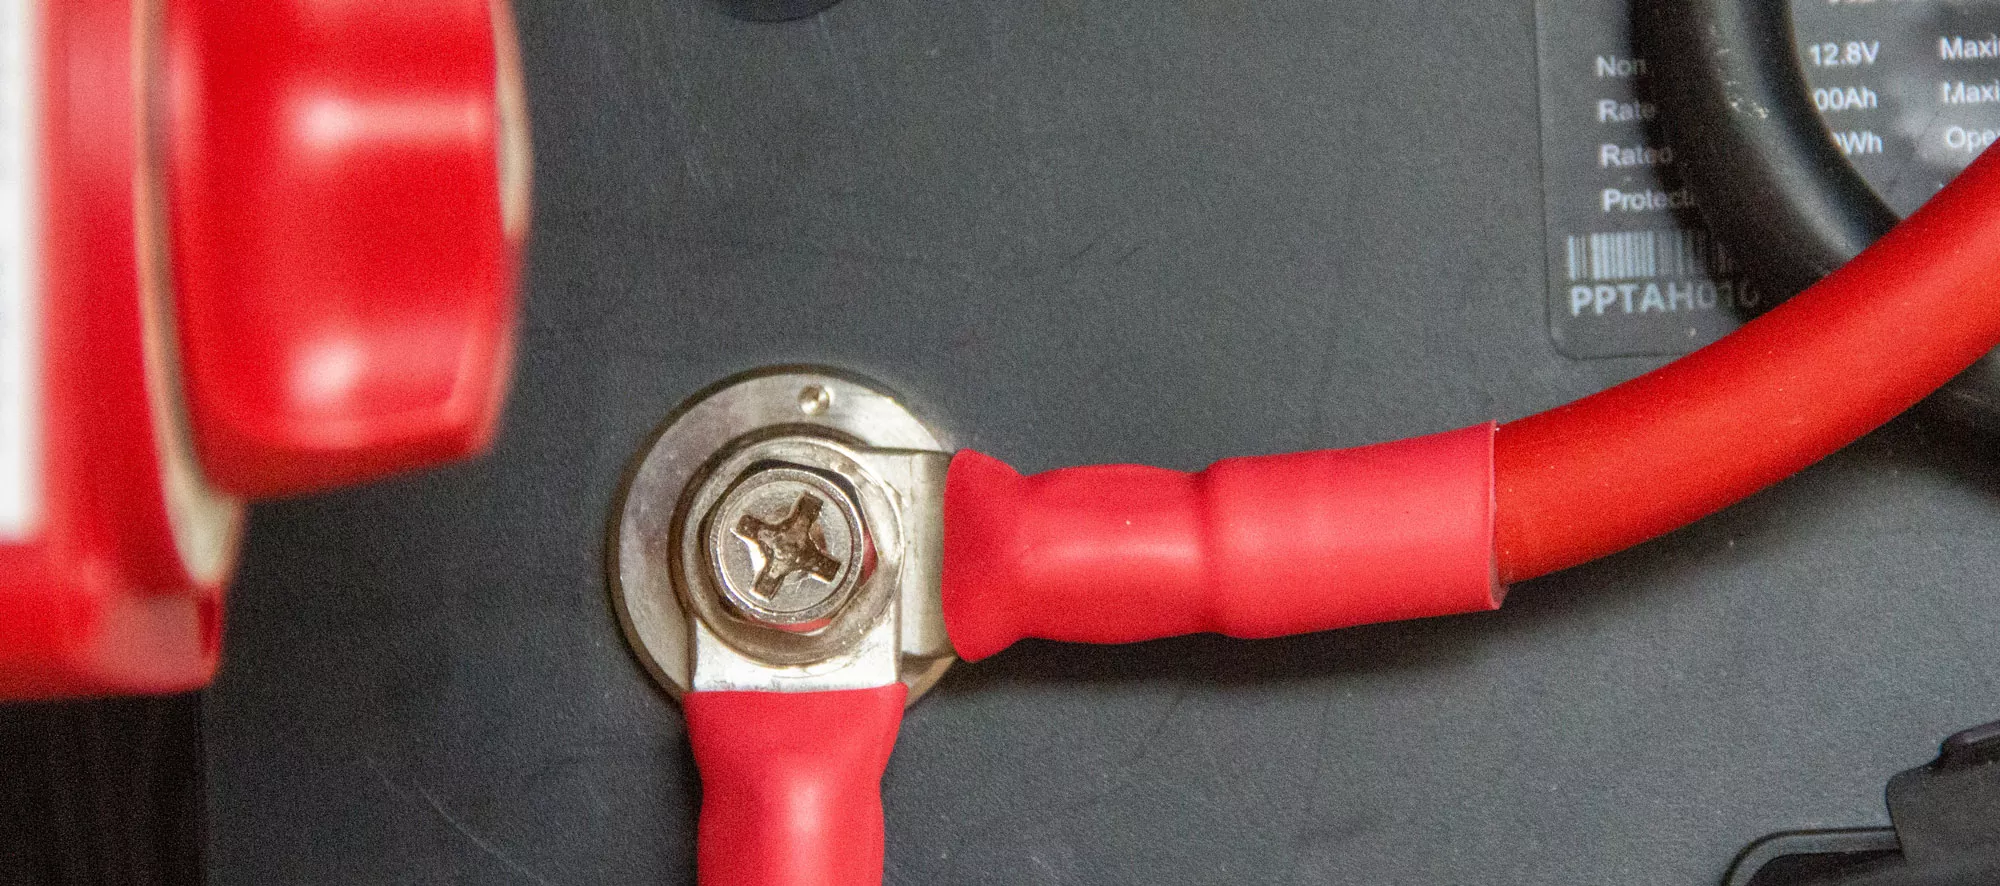
Quick answer: What are the basics of a campervan electrical system?
A campervan leisure system stores 12V DC power in a leisure battery, charges it from the alternator, solar or mains hook-up, and uses an inverter when you need 230V AC. This guide explains DC, AC, voltage, current, power and the main components in plain English, so you can read your wiring diagram with confidence.
Campervan electrical basics start with electricity itself, the energy that powers your van’s electrical system. It’s the energy behind our cold beers in the fridge, movie nights with friends and that long shot shower after a day in the surf. Yet, for many, the world of electricity remains a mystery.
Below we break down the campervan electrical basics that help you understand your van conversion’s electrical layout and system.
Quick answer
In short
A campervan runs mostly on 12V DC from a leisure battery, charged by the alternator, solar or hook-up, with an inverter making 230V AC when you need it. Volts push the current, amps are the flow, and Ohm’s law (V = I x R) ties them to resistance. Size each cable for the current it carries and fuse it below the cable’s current carrying capacity.
- 12V DC from the leisure battery
- Inverter makes 230V AC
- V = I x R
- Fuse below the cable’s capacity
If the fundamentals aren’t for you, we at Tiny Build Electrics take all the confusion of electrical out of the equation and create you your very own wiring diagram (schematic) specific to you and your van build as well as guiding you step by step through the installation process.
Campervan electrical basics: key terms
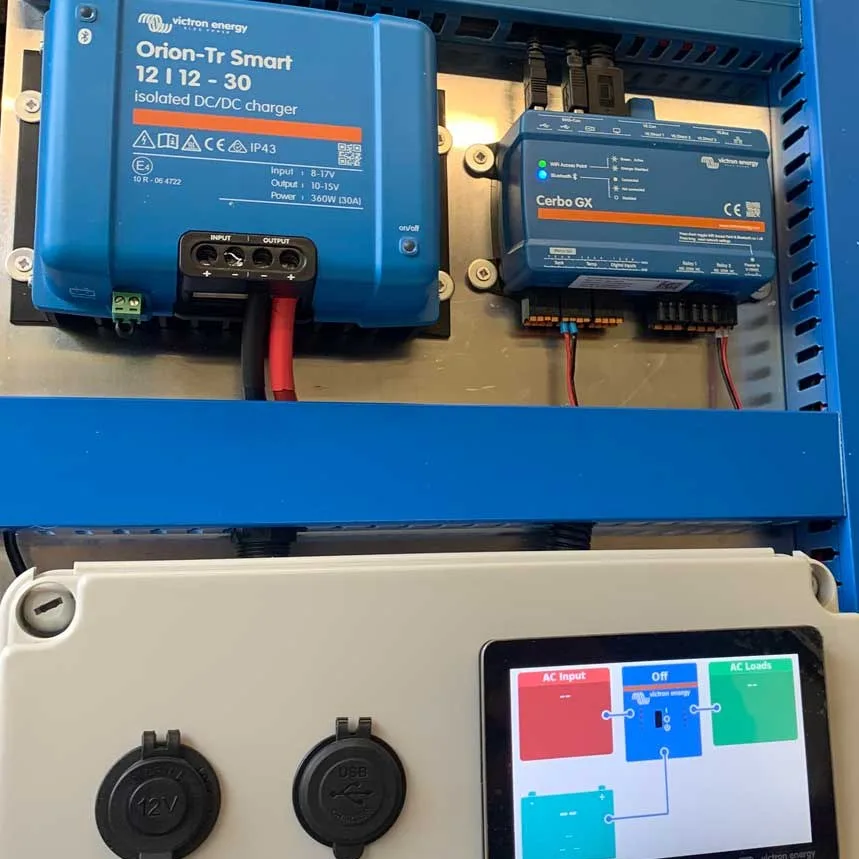
DC: Direct Current is electrical current that flows consistently in one direction. Commonly used in batteries.
AC: Alternating Current is an electrical current that switches back and forth at regular cycles. Commonly used by the grid.
230V AC: Voltage size and type in the UK and Europe’s Electrical Network.
12V DC: A extra low voltage power supply.
Inverter: A electronic device that converts Direct current (DC) into a Alternating current (AC).
Battery: A container consisting of one or more cells, in which chemical energy is converted into electricity and used as a source of power.
Shore Power: Power provided to a campervan or boat by a power outlet connected to the electricity grid.
Off Grid: Not connecting to the electricity grid in anyway. Solely reliant upon creating your own electricity.
MCB: Miniature Circuit Breakers are safety devices with an electro mechanical mechanism of action.
RCD: Residual Current Device is an electrical safety devices that breaks the electrical supply if it detects a earth leakage fault.
Isolator: An isolator de-energises a circuit or device by opening a set of contacts.
Busbar: Distributes electricity with greater ease. Used in campervans and boats for connecting multiple points together.

Resistance and Ohm’s Law
Now, before I lose you and you click away because this brings back harrowing memories of GCSE physics, let me reassure you that if there was one algebraic equation worth noting for your campervan electrical build, its this one. It’s a key fundamental that will help you tremendously with your build.
Let’s introduce the concept of resistance, denoted as “R.” Resistance opposes the flow of electrons in a circuit. It’s like a narrow section in a water pipe that restricts the flow of water. We measure resistance in ohms (Ω).
Ohm’s Law, formulated by Georg Simon Ohm, relates voltage, current, and resistance in a simple equation:
V = I x R
Where:
V represents voltage in volts (V).
I represents current in amperes (A).
R represents resistance in ohms (Ω).
This equation shows that voltage is directly proportional to current and resistance. In simpler terms, it means that increasing voltage will increase the current in a circuit if resistance remains constant. Conversely, if resistance increases, current decreases for a constant voltage.

Using Ohm’s Law in your campervan electrical system
So you want to work out what size cable, fuse and isolator you require for your shiny new fridge in your campervan.
You check the fridge’s manufactures instructions and the maximum power usage is 60 watts.
The campervan’s system voltage is 12 volts.
Now, we can input these numbers into the aforementioned equation.
60 watts divided by 12 volts = 5 amps
Therefore you require a cable capable of carrying 5 amps, a fuse capable of protecting said cable and an isolator able to withstand a minimum of 5 amps will power your fridge safely.
- 1.5mm 2 core cable with a current carrying capacity of 21 amps. (A short run of cable in conduit assumed)
- 10 amp fuse capable of protecting the cable (less than 21 amps) but also supplying the 5 amps to the fridge.
- 10 amp isolator capable of making and breaking the 5 amp current without incurring any damage.
*Note: A fuse is there solely to protect the cable and make sure it does not overheat or cause any damage. The fuse size should always be less than the current carrying capacity of the cable.

Current Carrying Capacity of a Cable
The current carrying capacity of a cable refers to its ability to safely conduct electrical current without overheating or causing damage. Various factors affect this capacity, and one of the most significant is the cable’s installation method. Once installed, a cable often sits among different materials, such as insulation, conduit or even air. The installation method affects the cable’s ability to dissipate heat generated during the flow of current.
For instance, cables installed in open air typically have a higher current carrying capacity because air provides better heat dissipation compared to enclosed spaces. In contrast, cables run in conduit or buried underground may carry less current, because they can’t dissipate heat as well. Additionally, factors like ambient temperature, cable size, and conductor material also play a role in determining the current carrying capacity of a cable. Therefore, selecting the appropriate installation method is crucial to ensure the cable can safely handle the intended electrical load.

Current Flow in a Circuit
Now that we’ve got through the algebra, let’s understand how electrons flow through a load, which is any device in a circuit that consumes electrical energy, like a light, fridge or a fan.
Voltage Source: Every circuit begins with a voltage source, such as a battery or an electrical outlet. The voltage source provides the potential difference that pushes electrons through the circuit.

Conductor: Wires made of materials with low resistance (usually copper) connect the voltage source to the load. Electrons flow through these conductors from the negative terminal (where they are pushed away) to the positive terminal (where they are attracted).

Load: The load is the part of the circuit that consumes electrical energy. When electrons pass through it, they work, such as producing light or generating heat in the case of a light bulb or a heater.

Return Path: Electrons don’t disappear after passing through the load. They return to the voltage source via the negative or neutral wire, completing the circuit.

How does an inverter work in a campervan electrical system?
An inverter in a campervan’s electrical system simply functions as a converter. It takes the direct current (DC) from the leisure batteries and transforms it into alternating current (AC) power, which is what most of our household devices require. This is vital because many appliances like laptops, chargers, and kitchen gadgets require AC power to operate. The inverter acts as a bridge, enabling you to enjoy the comforts of home on the road, turning your campervan into a tiny home on wheels, allowing you to use all your devices you would normally use at home.
Related guide
Choosing an inverter? Read our campervan inverter guide.
How do batteries work in a campervan electrical system?
In a campervan’s electrical system, a battery works like a portable power reservoir. It stores electricity, usually in the form of direct current (DC), which comes either from the vehicle’s alternator while driving or from an external source like solar panels or shore power when parked. You can then use this stored energy to power various devices and appliances inside the campervan, such as lights, fans, refrigerators, and even charge your gadgets.
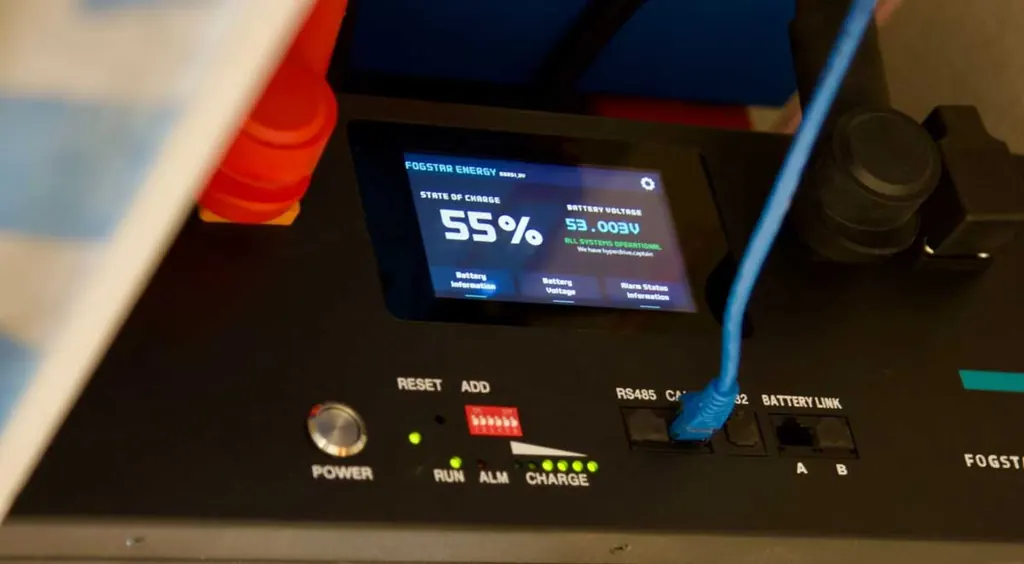
Think of it as a rechargeable battery in your torch; it keeps your campervan’s lights on and your devices charged, ensuring you have electricity even when you’re not connected to a traditional power outlet, allowing you to enjoy your adventures off the grid.
Related guide
Choosing a battery? Read our battery types guide.
Understanding Electrons
At the heart of electricity is the electron. Electrons are tiny, negatively charged particles that orbit the nucleus of an atom. In most materials, the outermost electrons are loosely bound to their atoms and can move freely. It’s this movement of electrons that creates an electric current.
Electric Current
Electric current is the flow of electrons through a conductor, such as a wire. Think of it as the flow of water through a pipe. We measure the rate of electron flow in amperes (A), commonly called “amps.” Current is the quantity of electrons passing through a point in a circuit per unit of time.

Voltage
Voltage, often denoted as “V,” is the electric potential difference between two points in a circuit. It’s what causes electrons to move. Imagine voltage as the force that pushes electrons through the wire, similar to how gravity pulls water down a hill. The unit of measurement for voltage is the volt (V).

Putting the campervan electrical basics to work
Understanding these campervan electrical basics, Ohm’s Law and the flow of electrons through a circuit is crucial for grasping how electrical systems work.
Just like learning to swim, starting with the basics is essential. With this knowledge, you can explore more complex electrical concepts and even troubleshoot simple electrical problems in your campervan. So, the next time you turn on a light switch, plug in your phone charger or turn on your inverter, remember that it’s the movement of electrons and the principles of Ohm’s Law that make it all possible
With this fundamental knowledge you can now move through our other guides with more of an understanding.
Campervan electrical basics FAQs
What are the basics of a campervan electrical system?
A campervan leisure system stores 12V DC power in a leisure battery, charges it from the alternator, solar or mains hook-up, and uses an inverter when you need 230V AC. This guide explains DC, AC, voltage, current, power and the main components in plain English, so you can read your wiring diagram with confidence.
What voltage is a campervan electrical system?
Mostly 12V DC from the leisure battery, charged by the alternator, solar or hook-up. An inverter makes 230V AC when you need it.
What is Ohm’s law?
V = I × R. Voltage equals current multiplied by resistance, so at a fixed voltage, more resistance means less current.
How do I choose a fuse for a cable?
Size the cable for the current it carries, then fit a fuse rated below the cable’s current carrying capacity, so the fuse operates before the cable overheats.
About the reviewer: Tom Alderdice
Tom holds the 18th Edition (BS 7671) and inspection and testing qualifications, plus NCC training in caravan and motorhome electrics.
Tiny Build Electrics is an Authorised Victron Energy Installer. See Tom’s full qualifications