Series And Parallel Wiring Formats
One common question that we get asked here at Tiny Build Electrics is in relation to series and parallel. Batteries in parallel? Solar array in series? Pros, cons?
This is a key stage in your Tiny Build and something you definitely want to get right! In this article we are going to break it down into small, manageable chunks to make it easy to understand.
Batteries in parallel
“In parallel the battery voltage remains constant and the amp hours increase”
Put simply, you connect the positive to positive, negative to negative. Easy, right? Well.. kind of!
The diagram below is why this type of connection is called ‘parallel’. The positives and negatives remain parallel to each other at all times. They never touch or connect, this is a parallel wiring format.

Every time a battery is added to the bank the voltage remains the same but the amp hours increase
So, you understand the basic layout of a battery bank connected in parallel, but the electrical principles are also worth understanding. Again, we can keep this simple.
Every time we add a battery to the bank the voltage remains the same but the amp hours increase by the size of the added battery.
Here, you can have a look at a real life example of this, as the batteries in our own Tiny Build Electrics example are wired in a parallel configuration.

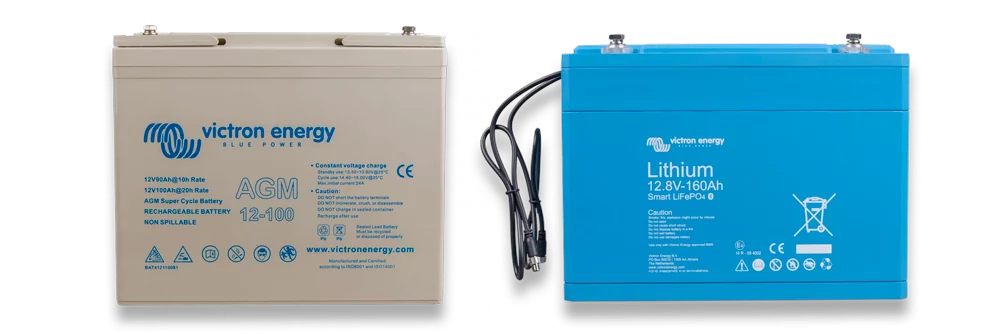
The system above comprises of two individual 100ah lithium-ion batteries connected in parallel.
Here we have a total of 200ah at 12V. The common mistake here is to double the voltage and not the amp hours. In parallel the battery voltage remains constant and the amp hours increase.
Connecting your batteries in parallel is not just as simple as connecting all the reds and all the blacks. You also need to consider balancing the system.
How can you do this?
Instead of connecting both the positive and negative at one end of the bank via one battery, we connect the positive to the load at one battery bank and the negative to the load from the other end of the battery bank.
The diagram to the right depicts a battery bank correctly connected in parallel.
See how the negative has been taken from the last battery to the installation, whilst the positive has been taken from the first battery to the installation. The bank is now working as one unit. The current being drawn from the battery bank will now be equal across each battery and the bank will receive charge equally across all its batteries.
This way the charge and discharge is evenly spread throughout the entire battery bank. This way of wiring increases the likelihood that the manufactures specified life cycles will be met. If this is not adhered to you are in danger of damaging your batteries and depleting their lifecycles.

Common mistakes when connecting batteries in parallel
When connecting your batteries in parallel you must balance your battery bank as discussed above. This is a crucial step and often overlooked during the installation stage.
This diagram shows a common way in which parallel battery banks are incorrectly connected. The way in which these are connected puts strain on the primary batteries and is considered unbalanced.
As you can see in the diagram the battery closest to the installation, let’s call this the primary battery, is the first in line to be discharged and is also the first to receive a charge current.
Each set of connecting cables, between each battery, creates a resistance. Electricity will always take the path of least resistance, like water flowing in a river. The path with the least resistance always wins. In the diagram shown, the primary battery is the first power source which has least resistance and therefore this one takes the biggest hit.
This will then happen in reverse when the battery bank is being charged. The primary battery gets a largest amount of charge current, with every set of interconnecting cables the charge current depletes from one battery to the next leaving the last battery with very little charge current.
Useful Definitions
Resistance: A measure of the opposition to current flow in an electrical circuit.
Charge Current: A flow of electrical charge carriers

Batteries in series
“In series the battery voltage increases and the amp hours remain the same”
Batteries wired in series are different. The principles are in reverse to a parallel setup. Instead of the voltage remaining the same and the amp hours increasing, the voltage increases and the amp hours remain the same.
Keep in mind, if you plan to wire multiple batteries together in series, each battery needs to have the same voltage and capacity and rating, or you can end up damaging the batteries.
This may seem irrelevant as I’m sure, like most people, you plan on having a 12v system in your camper van.
But, with older vans and vehicles becoming ever more popular to convert into tiny builds, their onboard electrical systems may surprise you.
A lot of big lorries and buses are being converted into tiny homes and they often have a 24V or 48V systems. Something to definitely bear in mind to ensure you purchase the correct equipment for your system.

4 x 12v 100ah batteries in series 48V 100ah Battery Bank
Series & Parallel Wiring for Solar Panels
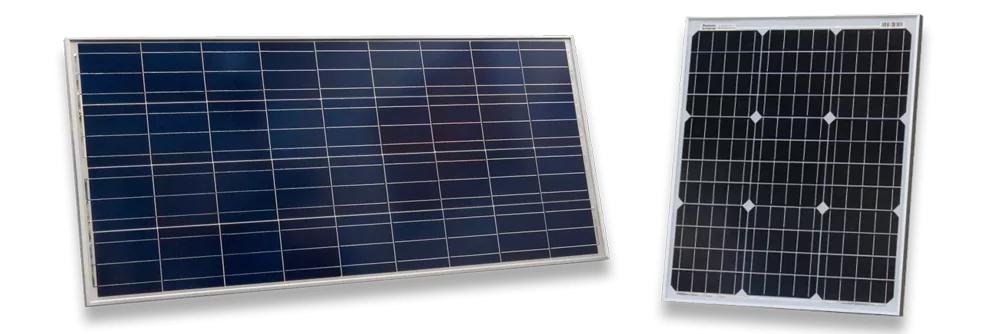
Each solar panel has a positive and a negative. A series connection is created when one panel’s positive is connected to the negative of another.
Both series and parallel wiring formats can also be applied to solar panel arrays. There are pros and cons to both methods. This is something you should consider carefully before starting your build.
When you wire multiple panels in series, their output voltages add together and their output currents remain the same. Conversely, when you wire numerous solar panels in parallel, their output currents add together, but their output voltages stay the same.
Series Solar Panel Wiring
Each solar panel has a positive and a negative. A series connection is created when one panel’s positive is connected to the negative of another.

Total Voltage: 22v x 3 = 66V
Total Current: 4.52A
Total Power: 300W
*These calculations do not include resistance losses caused by the panels and the cables. These numbers are for example purposes only.
From the calculation above you can see that the voltage has been multiplied by the three panels to give us 66v, the current remains at 4.52 amps. The total power (watts) is also accumulative of the three panels. This accumulates to 300w.
So, what are the Pros to wiring in this series over parallel?
Pros to series wiring format
- Higher voltage gives the MPPT controller (maximum power point tracking) more range when adjusting its charge current.
- MPPT Charger requires 5 volts more than the battery voltage in order to start charging. This works well with the series wiring as it creates a higher voltage and the charger is able to charge from earlier in the day and later into the evening extending the daily charge period.
- On cloudier days the solar arrays output voltage is reduced, but due to the higher voltages produced by the series wiring format, the MPPT is still able to create a charge current. Whereas a parallel array would drop below the MPPT’s minimum PV voltage and switch off.
- A lot simpler to wire
- Uses less cable than parallel
Cons to series wiring format
- If any shade covers even a single cell on a panel, it will reduce the whole system’s power output. For example parking under a tree will seriously impede your output charging current. In simple terms, the array likes to be balanced, it likes to see the same amount of light over every cell and when it gets this, its incredibly effective.
- Each panel and every cell within that panel are critical in a series format.
- Any spots of dirt over any of the cells will impede how the system charges. Therefore if your panels are in series they will need to be kept clean to maintain a optimum charge current. In series you cannot connect different size panels together. The power (watts) from the first panel passes through both the second and the third to make the accumulation, they all must be equal in size.

Two solar panels wired in series fitted to the top of a camper van.
The panels themselves have two cables each, so 4 cables altogether, but by connecting the positive of one to the negative of the other we essentially create one giant panel. That then leaves a positive from one panel and a negative from the other. These are the two cables we send down to the electrical control panel to connect to the MPPT controller. As seen this in the photo.
Parallel Solar Panel Wiring
A parallel connection is created when the positive of one panel is connected to the positive of another, and the negatives are connected to each other.

Total Voltage: 22V
Total Current: 4.52A x 3 = 13.56A
Total Power: 300W
*These calculations do not include resistance losses caused by the panels and the cables, These numbers are purely for example purposes.
From the calculation above the voltage now remains the same, a constant 22v. The current is 13.56A (that’s the current of each panel multiplied by 3).
A solar array in parallel is fantastic if partially shaded. In simple terms, if a few cells were covered by an overhanging tree, the rest of the array would pick up the slack and still give a reasonable charge current.
Pros to parallel wiring format
- One of the biggest pros to wiring in parallel is you can mix different size solar panels together. If, up on top of your campervan or motorhome roof, you have fans, surfboards, wifi boosters and therefore only have room for a 100w, a 50w and a 25w, they can be configured in different orientations around your equipment. Although this can be done, we at TBE do not advise this as it is very inefficient.
- When in optimal conditions parallel can give a very good, strong charge current.
- When shade hits any part of a solar array wired in parallel, the power output from that panel reduces significantly. BUT, any other panels in the configuration are unaffected.
Cons to parallel wiring format
- The parallel setup needs a certain amount of power from the solar panels in order to create a charge current.
- During the winter months, when the sun is low in the sky, the parallel format will struggle to produce enough voltage to initiate a charge.
- Requires a lot more cabling to wire a parallel format therefore your cable costs will be higher.

*These calculations do not include resistance losses caused by the panels and the cables, These numbers are purely for example purposes.
Real world results


These two screenshots above were taken on exactly the same day under the same conditions. The difference being that one set of panels is wired in parallel and the other wired in series.
The main difference you can see is that the parallel system has around 18v to optimise the best charge current, whereas the series system has between 28V-70V. So, in the example above, the MPPT has dropped the voltage to 29.38V in order to increase the charge current to 5.2A.
The parallel system is just about managing a charge current but its very weak.
Where the parallel system shines is if the solar panels were suddenly to become partially shaded by a tree, for example. The series system would dramatically reduce while the parallel would be little effected as the panel which isn’t partially covered is still able to produce its power, the series system requires all cells to be clear to effectively create a charge current.
If you plan to travel in all seasons then series solar wiring is the better format for those conditions with less sunlight. The series wiring combined with an MPPT controller maximises your chances of getting a healthy charge current even on those overcast days.
Although you may suffer more losses during the optimum operating conditions, series can produce a high enough voltage to charge the batteries from dawn to dusk.
If you travel in a camper van or motorhome that has a roof full of vents and fans and the only option is to fit panels in here, there and everywhere, then parallel will provide you with the option of having multiple, different sized panels together on your roof but remember, the panels need to have the same voltage to maintain efficiency.

Diagram above demonstrating solar panels wired in series with a Victron Energy MPPT Controller
Our recommendations at Tiny Build Electrics
- Wire your campervan solar setup in series.
- Wherever possible, use the same size solar panels throughout the entire array.
- If you must mix panels then try to get their specification as close as possible.
- Pay attention to anything on your roof that could cast a shadow onto your solar panels, including maxxair fans, TV dishes and sports equipment.
- Avoid parking in the shade or under trees to maximise performance.
- Keep your solar panels really clean.
- Use an MPPT controller when wiring in both series or parallel to maximise performance

Hey, I’m Tom – founder of Tiny Build Electrics
My mission is to help sustainable-minded folks develop their electrical knowledge, giving them the confidence to do their own tiny build electrics.
Book A Consultation